White Spelt Sandwich Loaf (made in a Bread Machine)
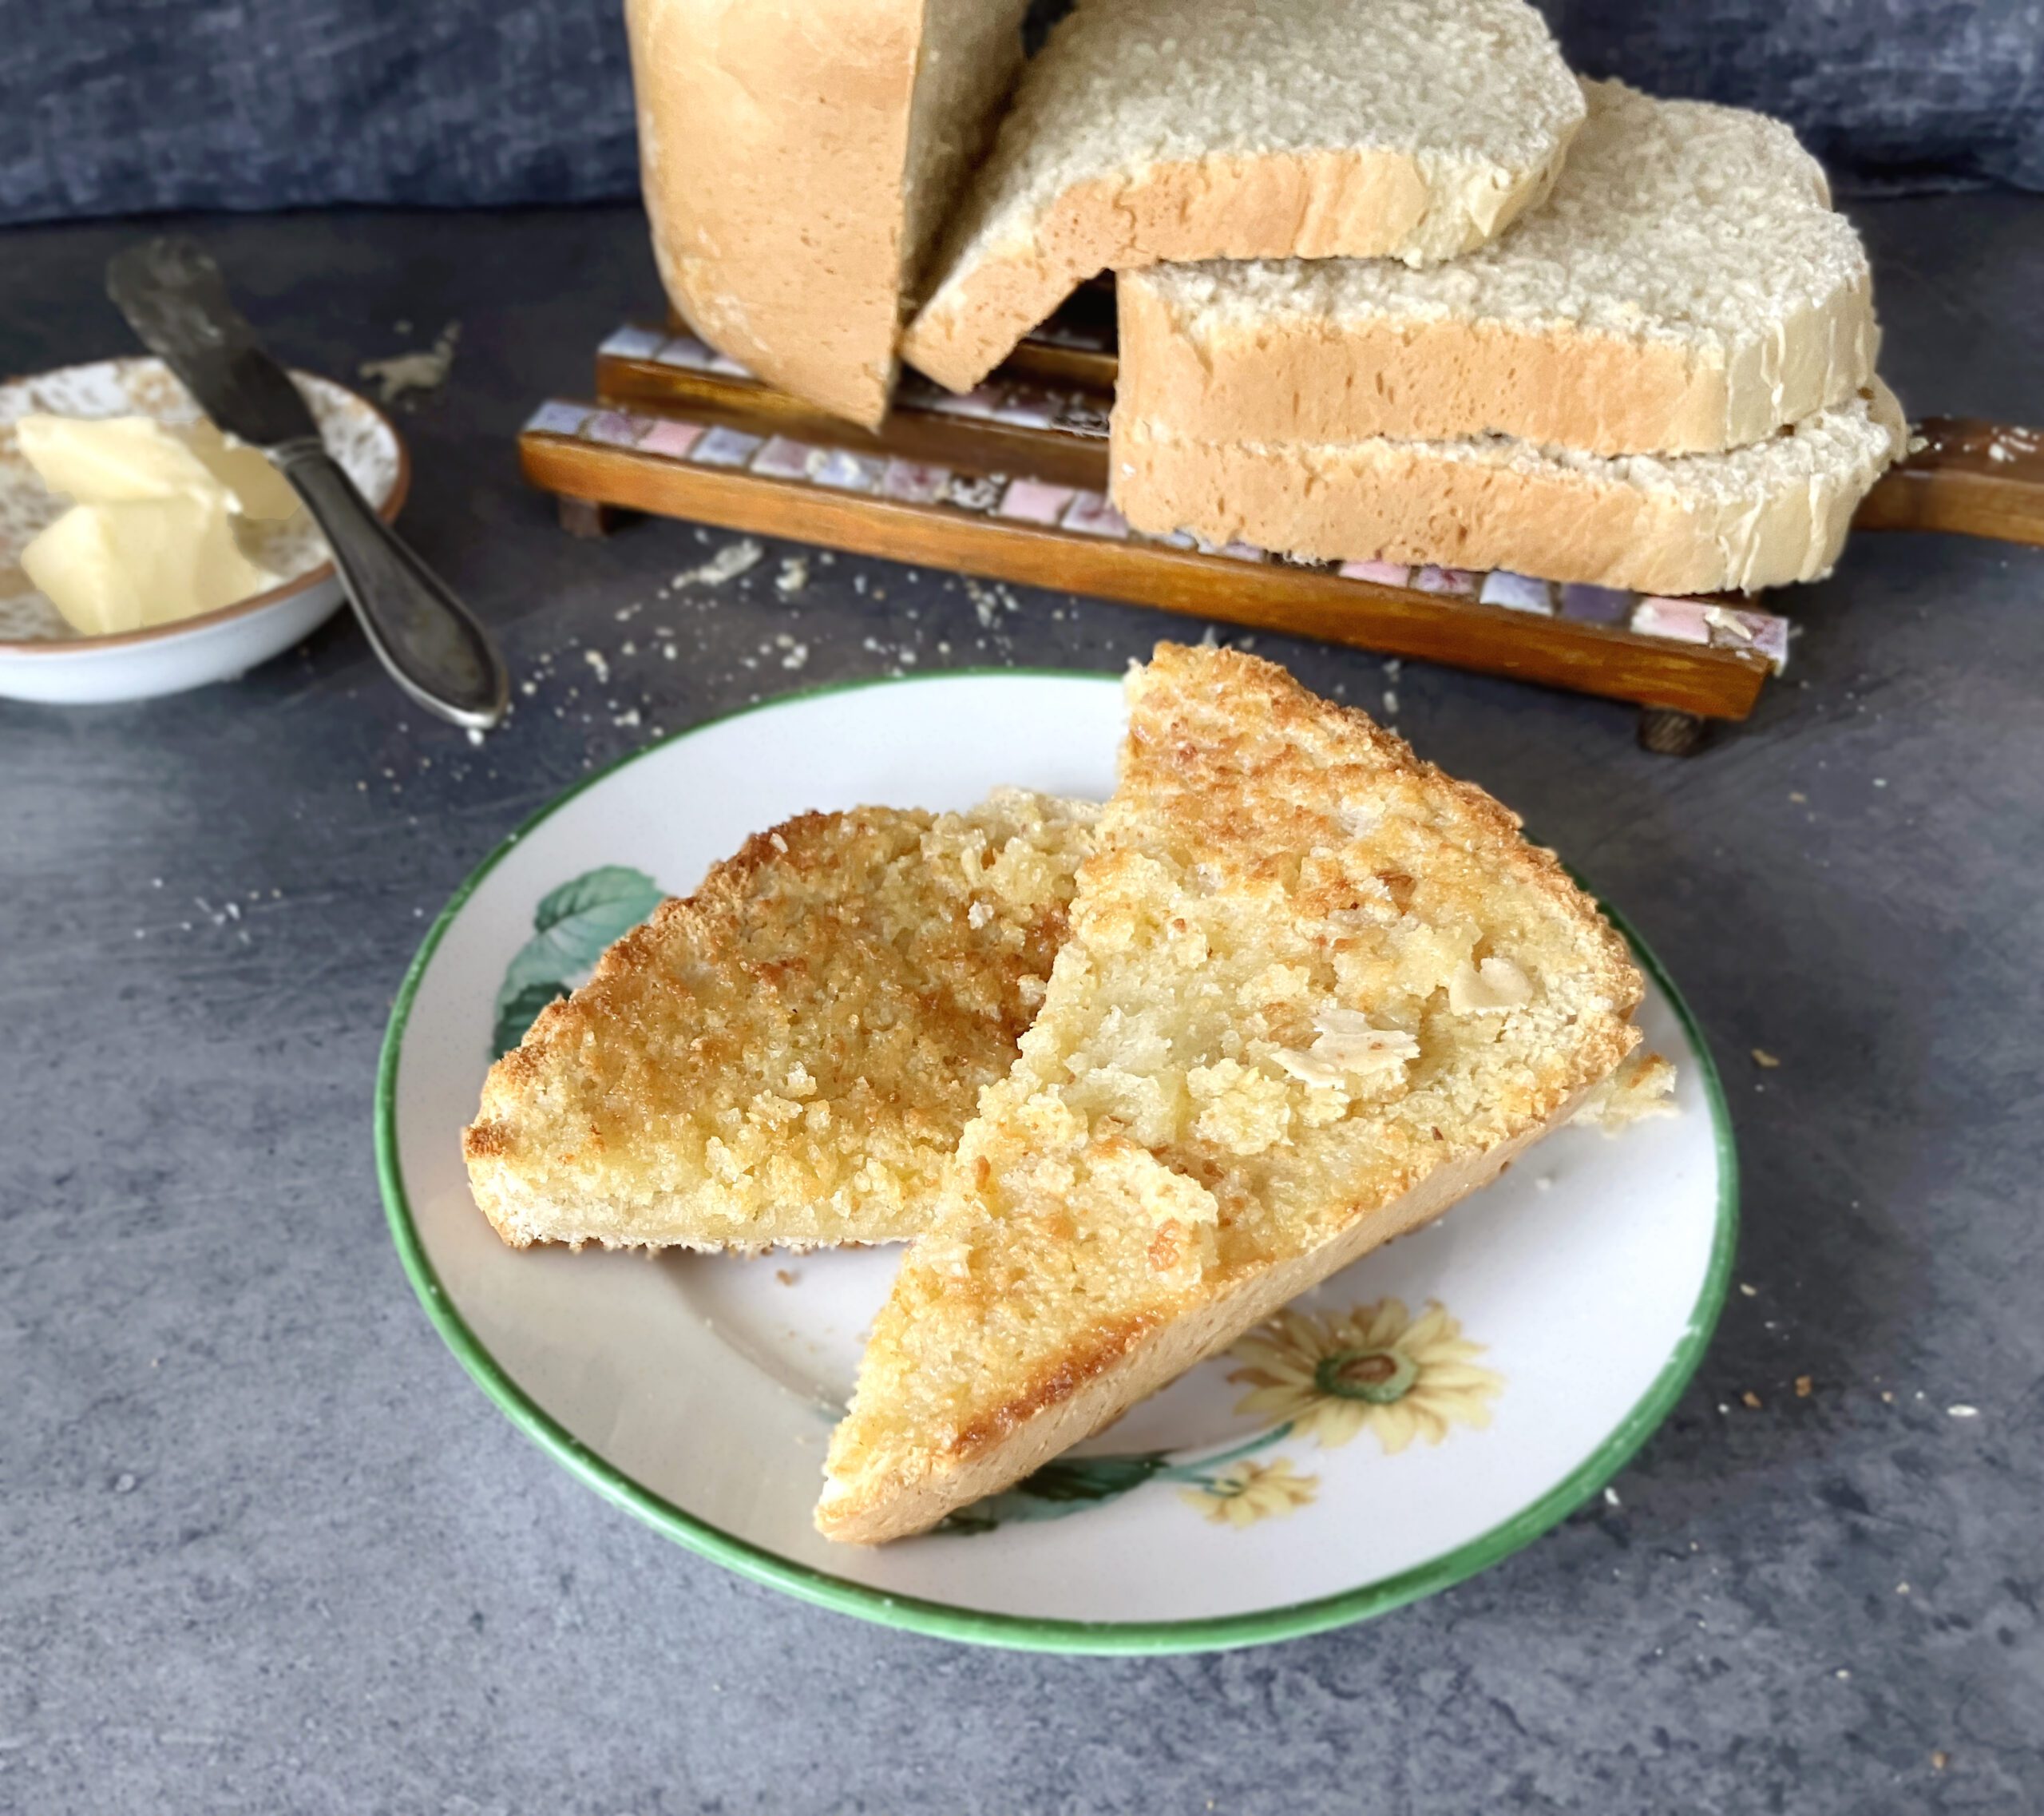
This white spelt sandwich loaf is enriched with egg, milk and butter, giving it a light, fluffy crumb. Delicious and simple to make using a bread maker, it’s so good, you will never feel the need to buy bread again.
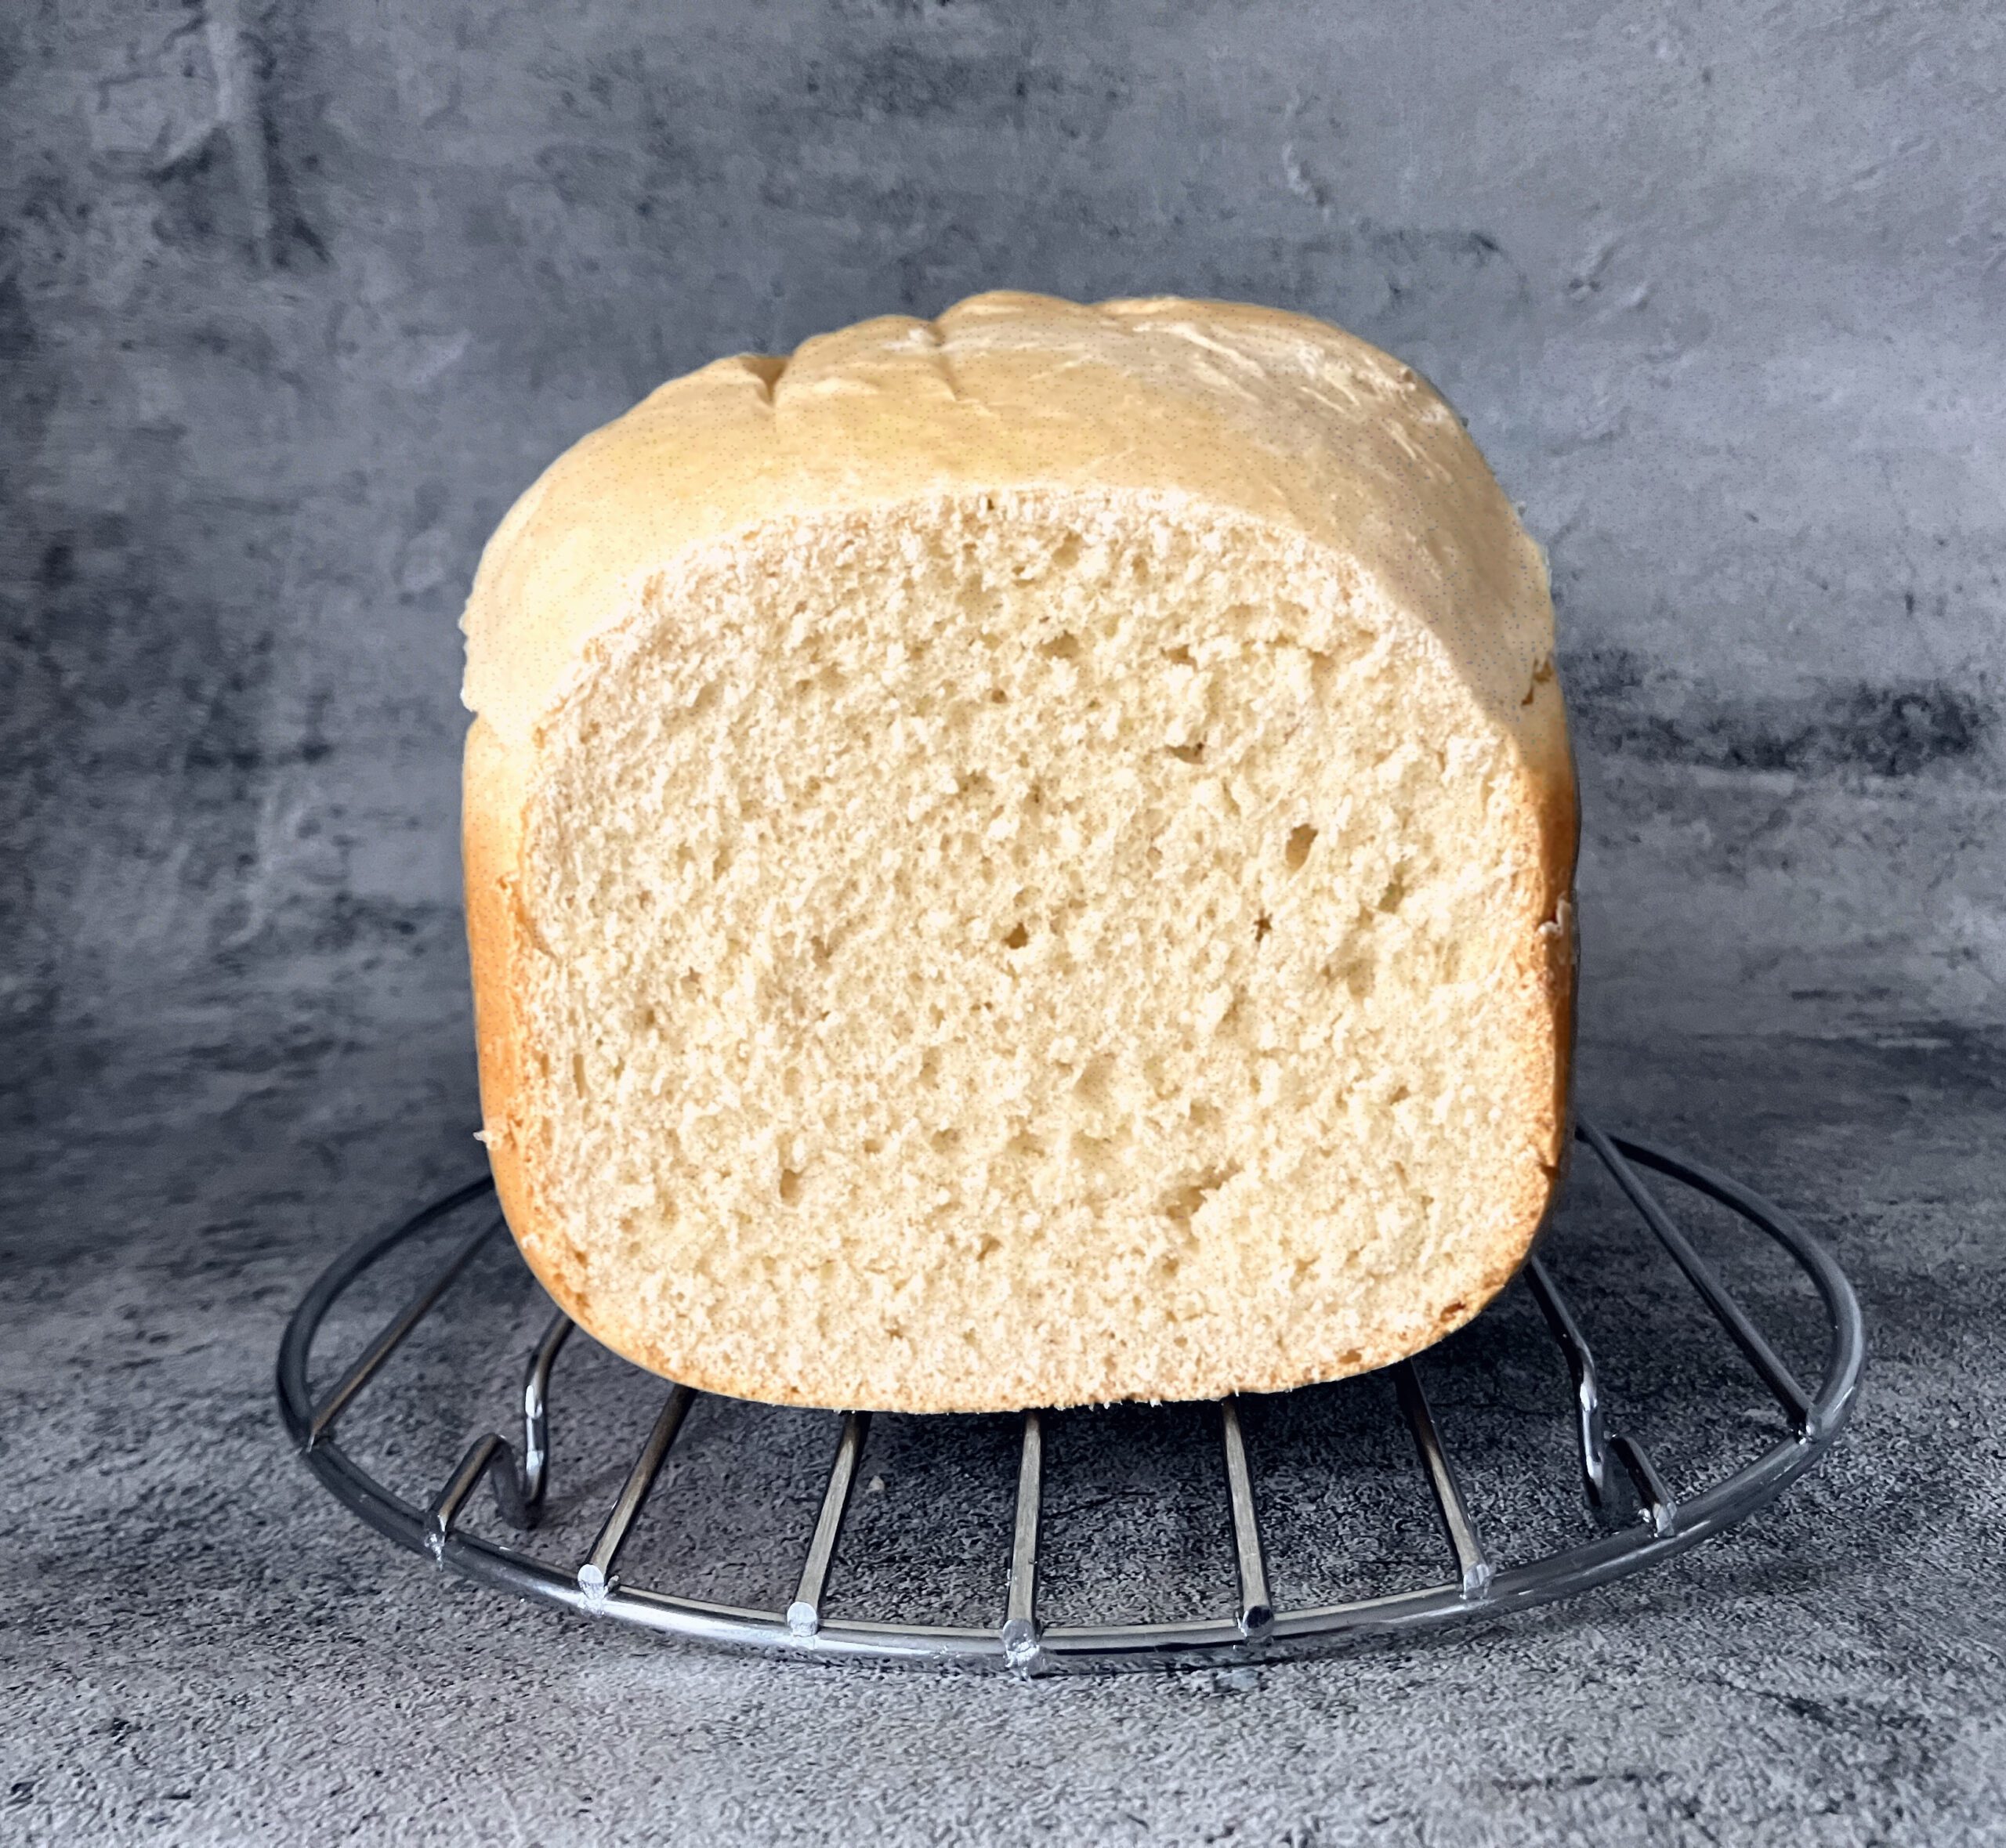
It’s safe to say that I’ve taken a while to develop this recipe. Lots of tweaking of my multi-use base spelt dough, using different settings on my bread machine, and a tonne of research. I think I’m there. Well, that is if you’re looking for a simple recipe that can create bread sturdy enough to slice, yet at the same time, soft and delicious to eat.
Using an enriched dough
I think the secret to good spelt bread is enriching it with eggs, milk and butter. There’s not enough eggs to call it brioche, but spelt bread can have the reputation of being a little dry (experience has also shown this). This is especially true when you are making bread in a machine. It isn’t that spelt flour is dry; it just absorbs liquid differently.
I find that enriched bread, made by adding butter and milk, as opposed to just water, then an additional egg, makes all the difference in crumb and texture.
Do I need to use room temperature ingredients?
Up until experimenting for this recipe, I had never brought my cold ingredients up to room temperature. However, I did know that yeast prefers warm liquid to activate. When using fresh yeast in the past, I always mixed it with warm milk.
So, for one loaf, I used warm milk and also kept my egg and butter on the counter top until they were room temperature. I didn’t notice any difference at all, either with the baking or taste/texture. This was particularly pleasing to me as I am very much a spur of the moment kind of baker. My recommendation would be to do what works for you. If you feel it is better de-chill dairy products, then go ahead.
Faster bread machine cycles for spelt
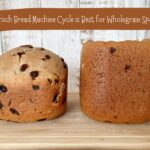
Of course, baking is a science and there is a lot more that is happening when we bake bread. Particularly in a bread machine. Oh, and when spelt flour is involved. I investigated the effect of different cycle lengths of spelt bread in my post wholegrain spelt: which bread machine cycle is the best? I looked at why longer cycles produced a sunken top, and how the results of using a short cycle were quite surprising.
Since writing the post, I’ve never used a long cycle, and only bake my bread on the fast cycle. One thing to mention is that my bread maker has one “quick” and two “ultra fast” settings. I am a little confused as to why, as all three cycles are 90 minutes, and produce identical results. And yes, I tried them to make sure. So, if you have a fast cycle on your machine, it doesn’t matter too much about the wording: you’re good to go.
Lopsided bread
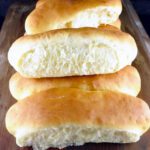
In my many years of baking with spelt, I’ve never been able to completely prevent the bursting of loaves. This is particularly prevalent when they are a loose form. Baking them in a loaf tin helps to reduce this, so I am assuming that the sides of a pan help support the weaker gluten found in spelt flour. This theory is backed up when I bake buns. When making my subway, hot dog and my most popular bread recipe, super soft buns, I place them close together. This not only produces a really soft crumb, but it helps support them.
This bursting happens with greater intensity in a bread machine pan, but it still occurs to some degree. I just chalk it up to an inevitable part of baking with spelt. One thing to help prevent a lopsided bread machine loaf is to wait for the kneading cycle to finish, then peek in to make sure that the dough is evenly placed across the pan. Quite often the kneading can leave it a little lopsided. I usually just press down with my hands so that there is an even coverage, but I know some other bakers remove the dough, quickly form it, then place it back in the machine to rise. Just take care not to open the lid when the rising has already started, as this will cause important warmth to escape.
Uneven browning
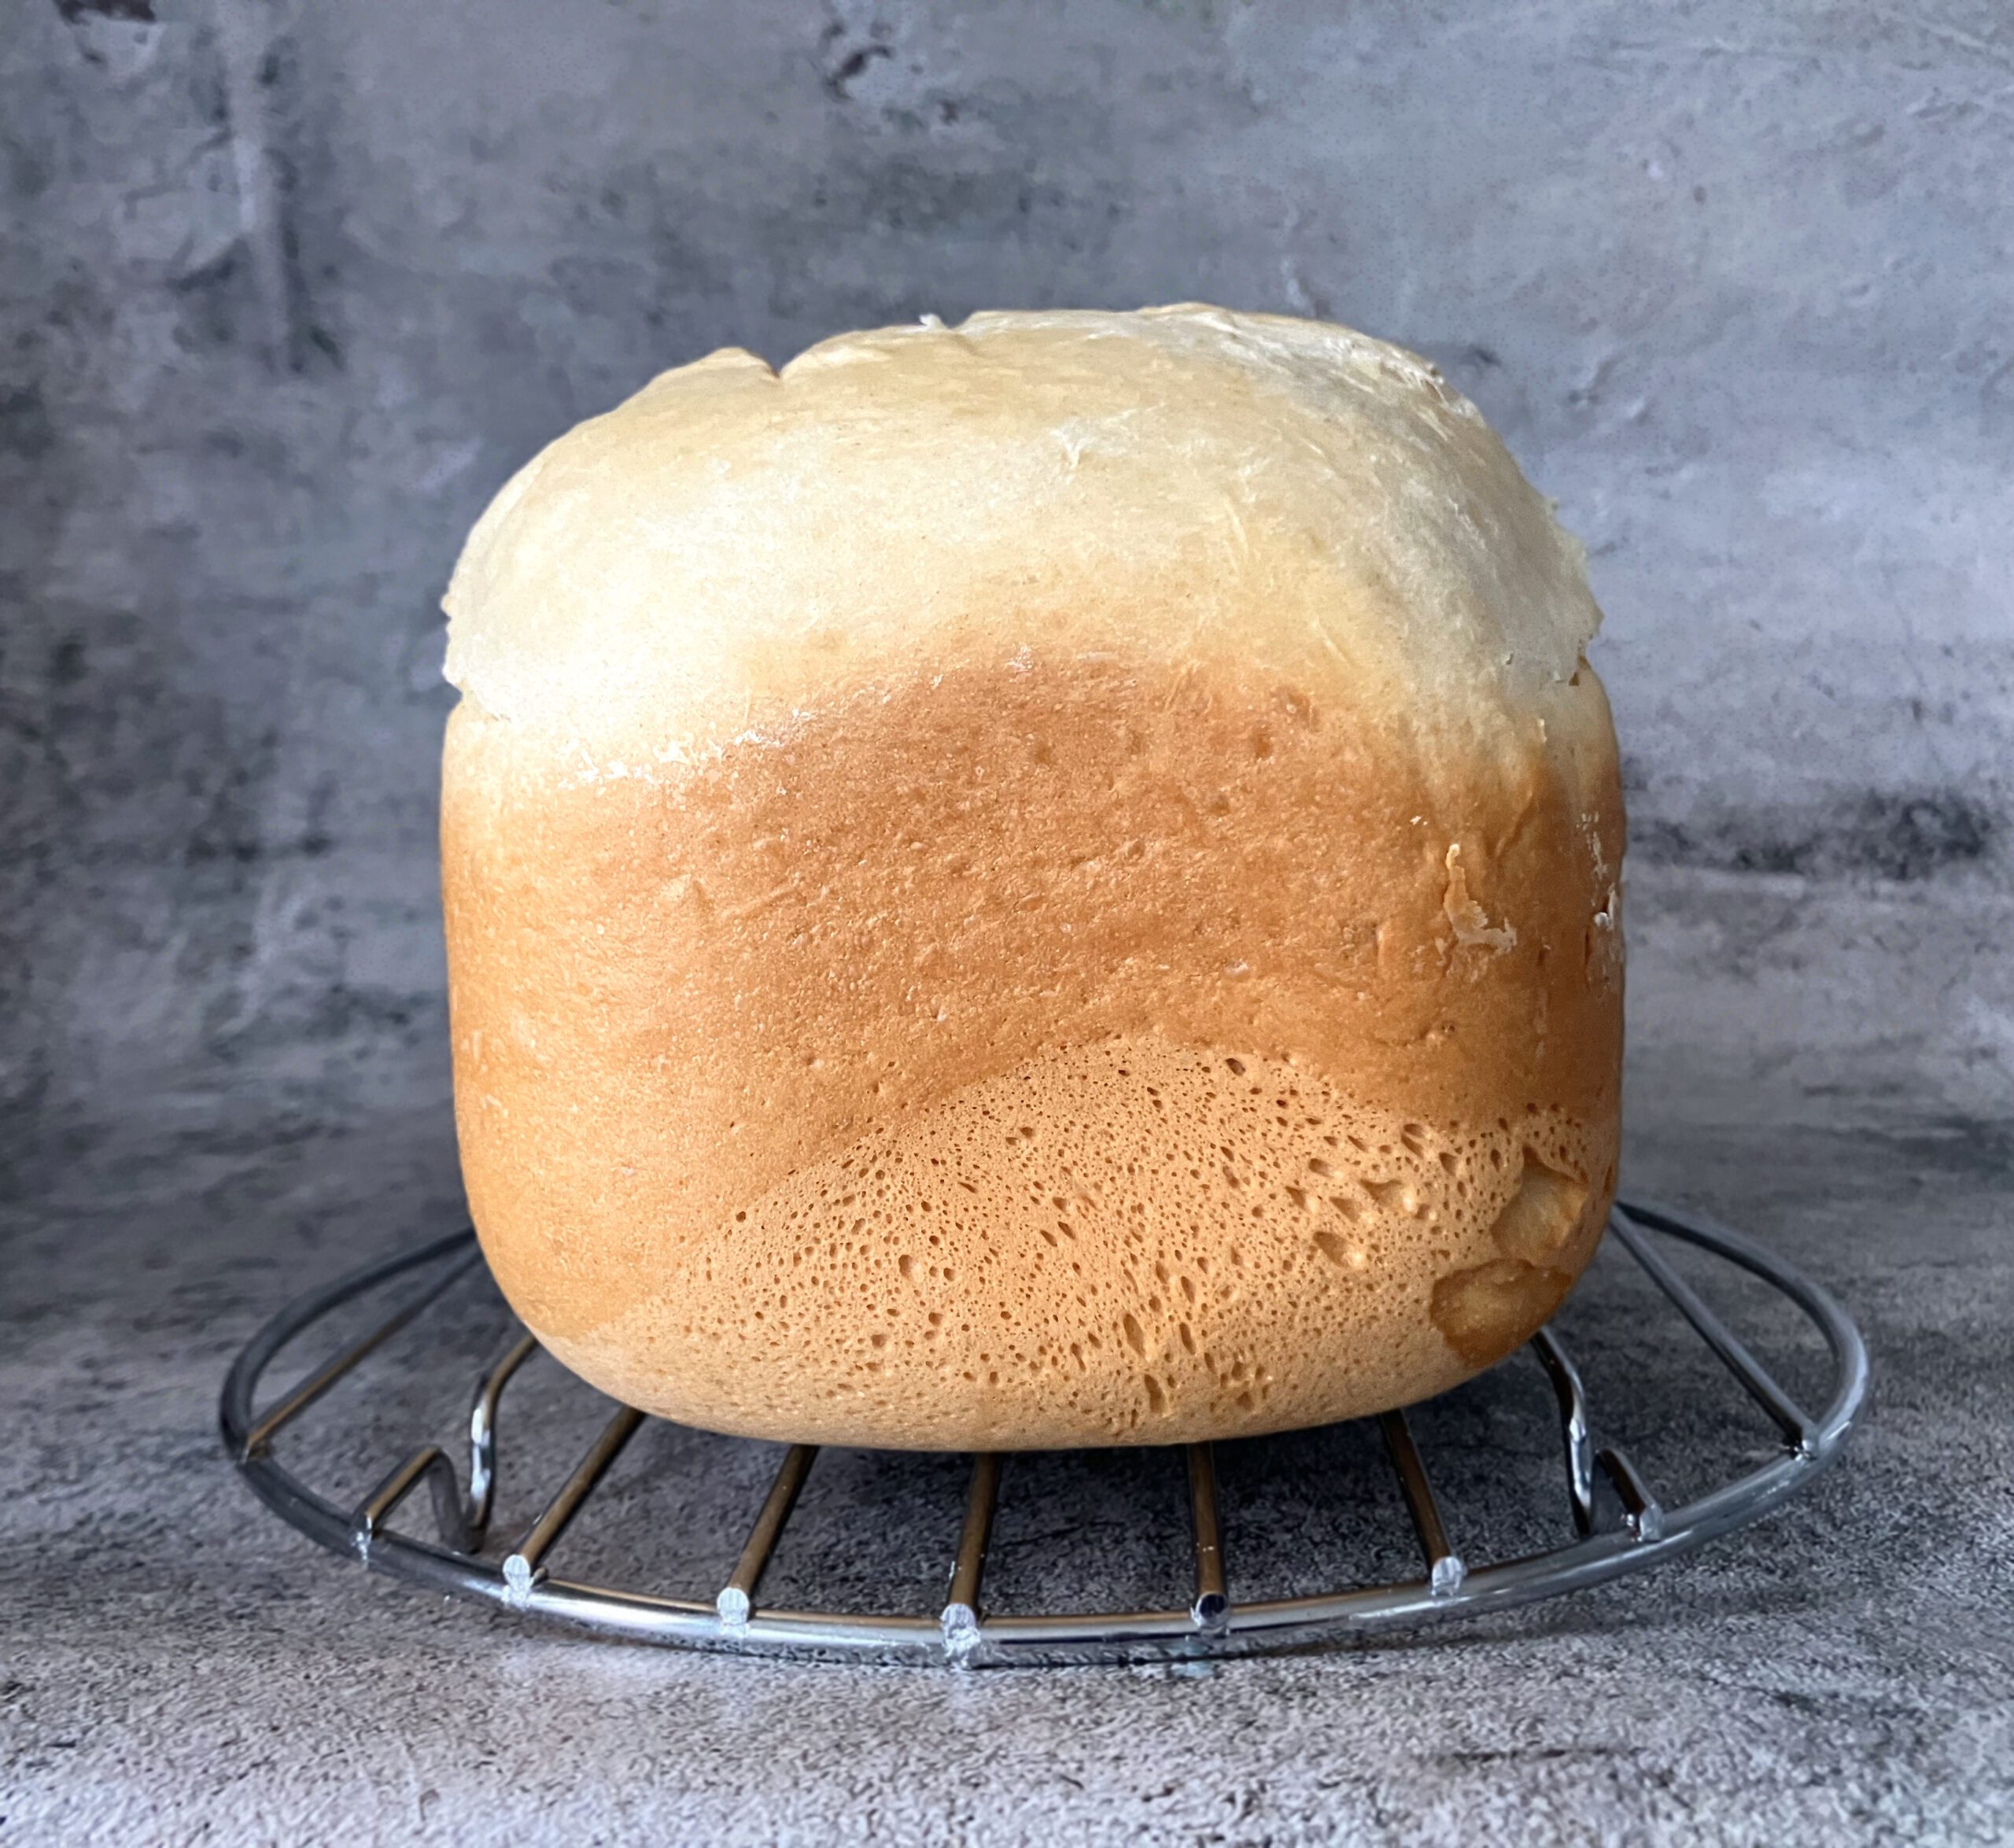
Another thing I’ve tried to eradicate is the uneven browning that can occur in bread machine loaves (as seen below). It doesn’t matter whaich browning setting I use, the result is the same. Research tells me that this is due to the bread not rising enough in the pan to deepen the colour of the tops. This feels accurate because my bread machine pan is very deep, and when I baked loaves using the longer cycles (achieving a higher rise), they definitely gave more of a browned crust.
I don’t really need to have a browned top, but if it bothers you, advice bunging it in the oven for a short while to achieve the desired effect. Too much trouble for me, though. Why go to the effort of using a baking machine to use an oven anyway?
Another suggestion I read was that a pale bread was the result of not using enough sugar. Nope, not for me. I doubled it to two tablespoons, without making a jot of difference.
Why do loaves wrinkle?
While baking many loaves to uncover the ultimate white spelt sandwich loaf recipe, I noticed that some of my specimens were a little wrinkled on top. For one experiment, I left the loaf in the bread tin for about ten minutes after the timer had gone off. I thought this might help to brown the top. It didn’t, but what it did do, was increase the wrinklage. Research suggests that this might be caused by condensation inside the bread machine.
However, alternative research states that it could be due to the bread being removed immediately after the cycle has ended. The shock of colder air causes the bread to retract slightly. In addition, it could be because the top has not produced a solid crust (as talked about above), making it thinner and more prone to wrinkling. This makes sense as this kind of wrinkling has never happened to any loaf I have baked in the oven.
Allow the bread to cool completely
Yeah, this is a tough one for me. Who can resist the charms of freshly baked bread? Especially when I want to make use of the good light and get my photos done. However, this is a crucial stage as it seriously affects the crumb and texture of the bread. If you slice a loaf before it has fully cooled, all the way through, you will end up with stodgier bread. And I know from personal experience. Way too much personal experience. So, cover it by lightly laying a tea towel over the top, and let it rest on the counter for a good few hours before slicing into it.
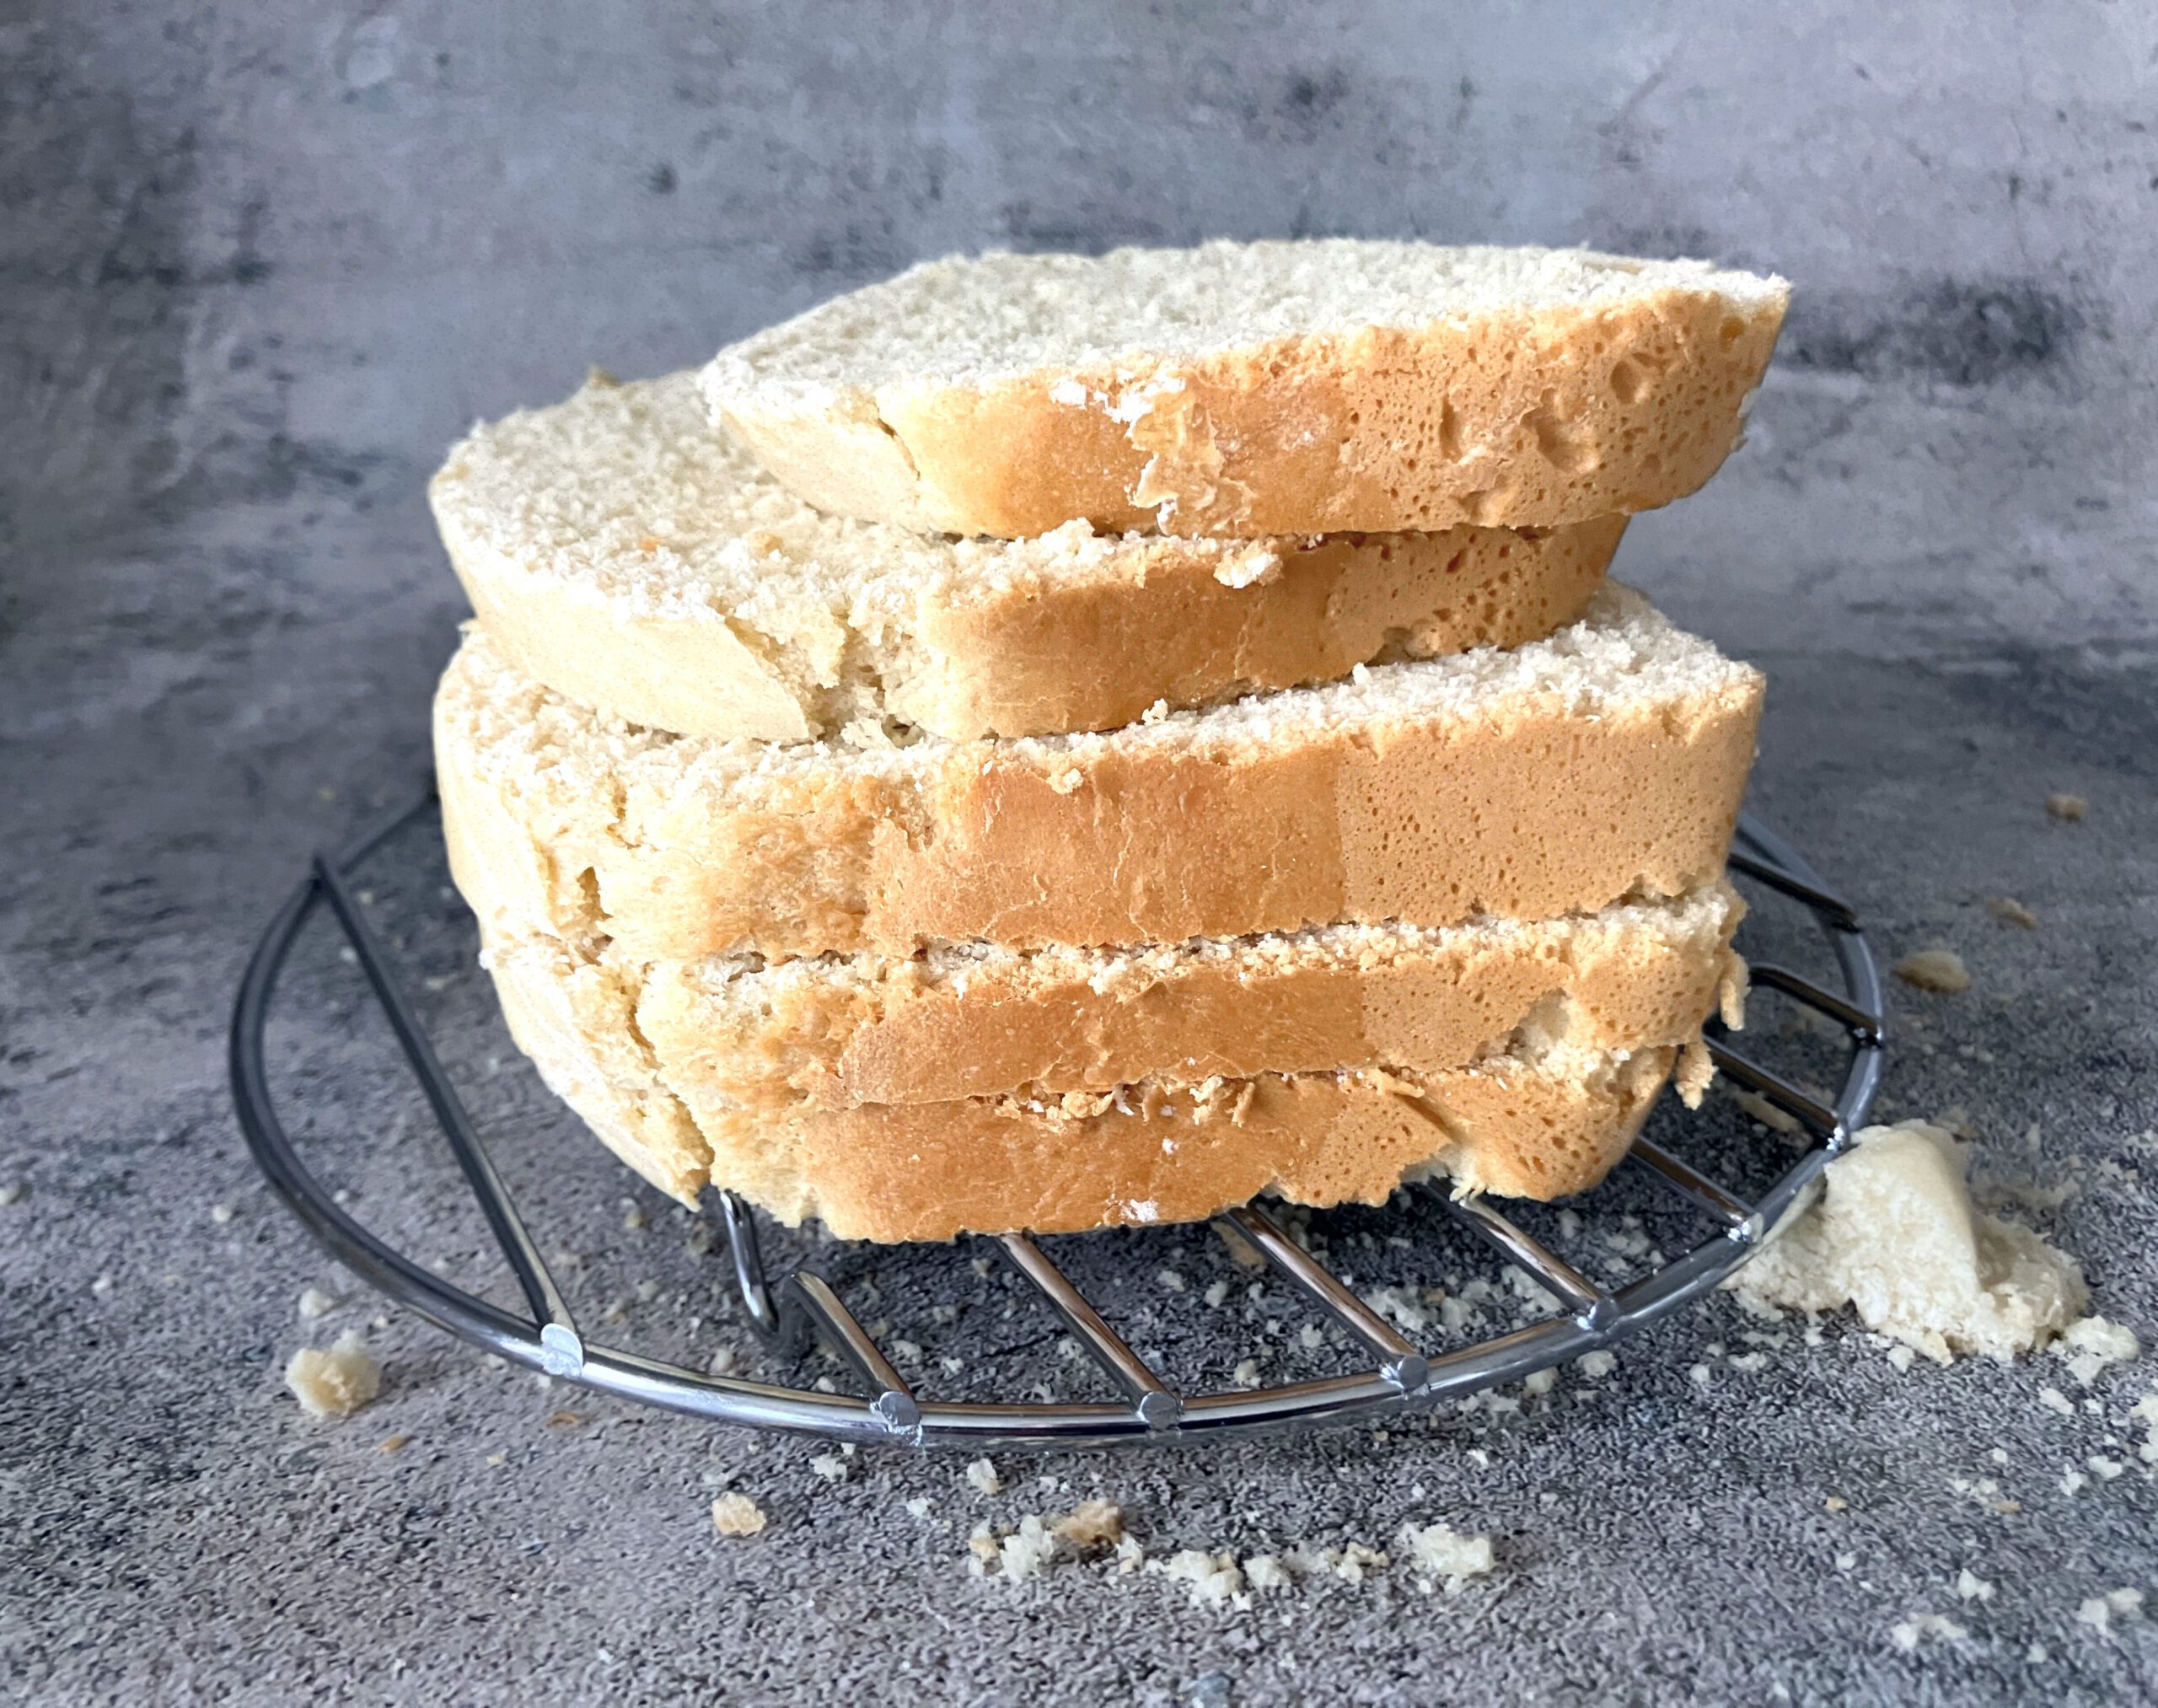
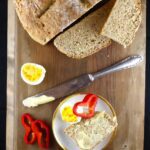
Talking of slicing, I prefer to slice my bread on the thick side. And yes, I am fully aware that my slicing skills need some practice. When I used to eat shop bought bread in the UK, I would always go for the thick sliced loaves. We don’t really have that option in Sweden, as the loaves seem very uniform in thickness. Another reason I sliced my homemade bread thickly in the past was because I found it was quite weak and would crumble quite easily. The reason for this is mentioned in my comparison post (linked above).
This white spelt sandwich loaf does not have that problem. I sliced it quite thinly and it didn’t disintegrate as soon as I touched it.
How long will a spelt loaf last?
I am not sure, because it doesn’t hang around in my kitchen long enough to find out. Seriously though, fresh bread does dry out a lot quicker than factory-produced bread. That is a fact. Spelt bread seems to lose its moisture a lot quicker than all-purpose (plain) or bread flour, too. Therefore, all of my leftover bread gets frozen. When I bake my white spelt sandwich loaf, I slice it all. I take a couple of slices for my lunch, then freeze the rest immediately. This retains the freshness, so that when you take it out of the freezer, it’s as good as the minute it was baked. I mainly use mine for toast, because it involves nothing arduous than removing it from the freezer and flinging it into the toaster. However, it defrosts like a dream if you prefer a sandwich.
If you enjoyed reading this, you might find my post spelt vs plain flour: which makes the best cupcake useful.
White Spelt Sandwich Loaf (made in a Bread Machine)
Equipment
- bread maker
Ingredients
- 1 egg (medium)
- 250ml (1 cup) milk
- 50g (3½ tbsp) butter (chopped into small pieces)
- 480g (4 cups) white spelt flour
- 1 tbsp sugar
- ½ tbsp salt
- 7g (2¼ tsp) yeast (see note 1)
Instructions
- Add the egg, milk and butter to your bread machine pan.
- Top the wet ingredients with the flour, sugar and salt.
- Make a little well in the top of the dry ingredients and add your yeast.
- Set your machine to a fast cycle.
- When the kneading has finished, check that the dough is evenly spread across the pan, and if needed, push down gently so that there is a fairly flat coverage.
- When the bread is ready, remove it from the machine immediately.
- Let the bread sit in the pan for five minutes, then turn it out onto a rack.
- Do not slice the bread until it is completely cooled, as this will affect the texture of the bread (read here for more information).
- Well-wrapped bread will sit on the counter for a day or so, but any longer and the freshness will deteriorate. However, it freezes amazingly well, so pop any leftovers into the freezer. Enjoy!
Notes
- In Sweden we have something called dried yeast. It is used both in warm liquid to proof and also added directly to flour. I am aware that the US has two options for dried yeast, and I believe instant yeast is the most similar for the purpose of making this particular bread.


