Maple Syrup Berry Jam with Chia Seeds
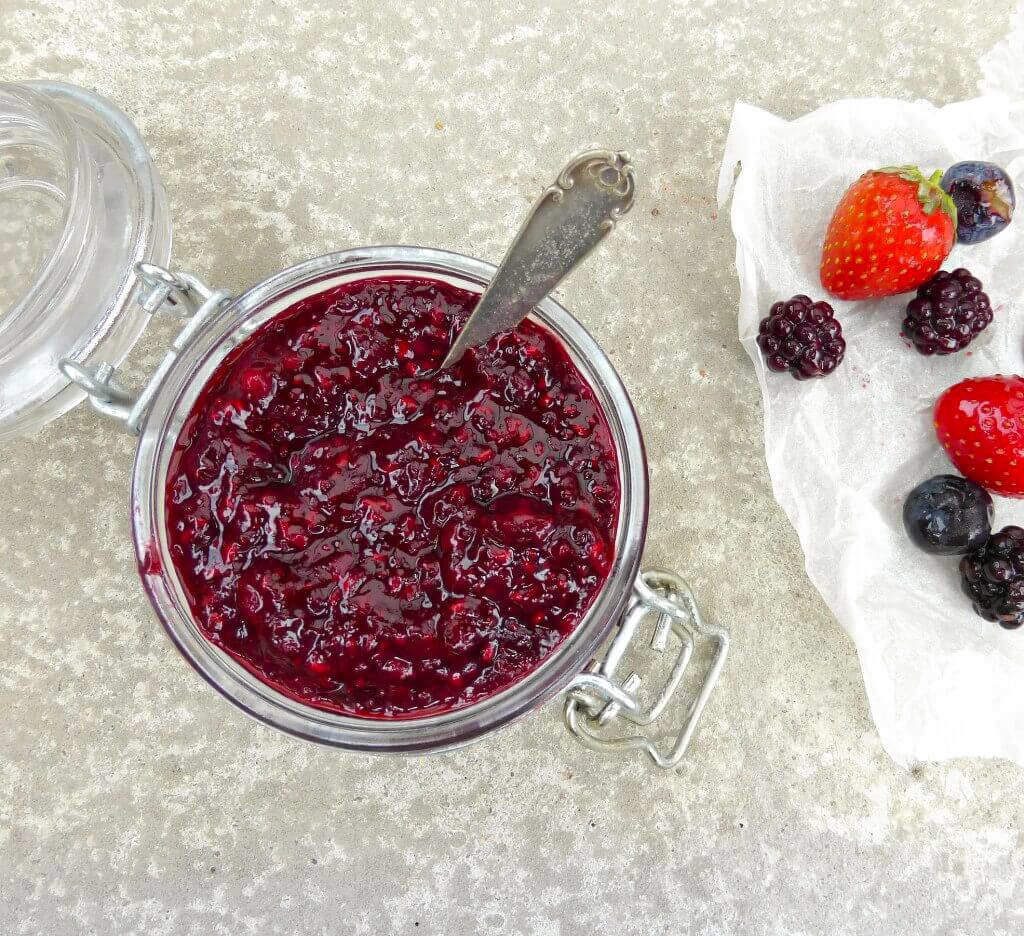
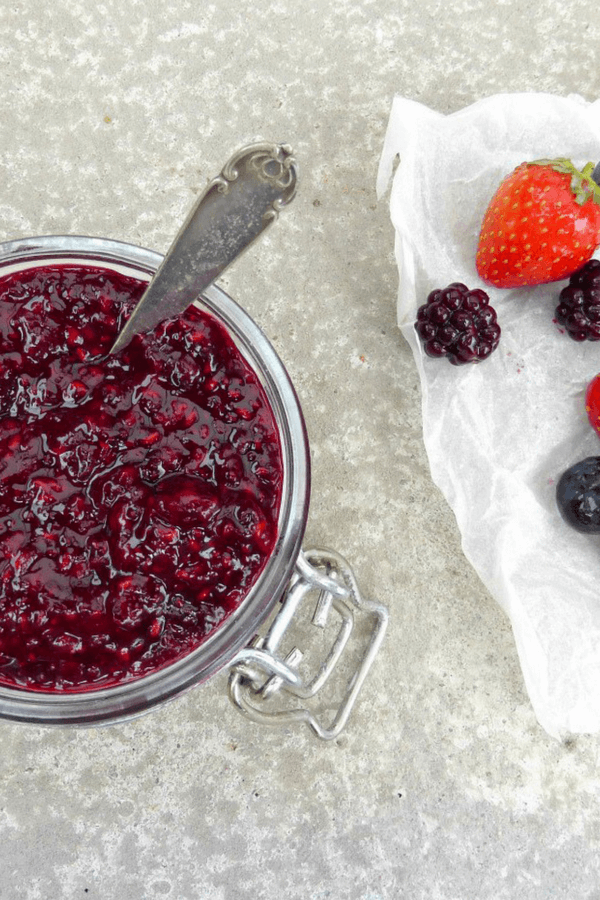
Making this maple syrup berry jam doesn’t involve any special processes or ingredients. Homemade jam doesn’t come any easier than this. Healthy, made with maple syrup and no refined, packed with berries, and perfect on your slice of morning toast.
Some of the links in this post might be affiliate links. Please read my disclosure and privacy policy for more information.
_________
Jump to: |
| Making jam without pectin |
| Adding chia seeds to food |
| Other recipes made with jam |
This recipe for maple syrup berry jam first appeared on my former blog, The Culinary Jumble. The post and images have been updated slightly since then, but the recipe remains unchanged.
Many of us are inspired to make our own jam, especially when trying to adapt your diet to include healthier alternatives. However, when first considering making jam, the first thought is often how long-winded and laborious the process is. Not if you make this simple version, it isn’t.
Making jam without pectin
I make my own jam pretty often. It’s always an excellent way to use up any fresh fruit, but works just as well with frozen fruit. I actually rarely by store bought jam now (and if I do, I don’t personally eat it), as I find it too sweet and artificial tasting, not to mention packed full of things that really don’t need to be there. My jam has maple syrup to sweeten it, which means I can swerve using lots of less nutritious white sugar.
Unlike other jams, this one doesn’t need straining, sterilising, pectin or anything else regular jam making involves. The only downside is that you have to consume it within a couple of days. However, with something as delicious as this jam, I can absolutely live with that. The shorter shelf-life is down to a couple of factors. The jar has neither been sterilised nor sealed, but it is also missing the massive amount of sugar that helps the perseveration process.
Although pectin is often used to thicken jams, it needs a lot of sugar to work, so in a recipe like this it is pretty much redundant. Plus, there are other ways to thicken jam, such as chia seeds.
Adding chia seeds to food
I love chia seeds in nutritious rye seeded loaves and simple and quick no yeast soda bread. The can be used interchangeably with other small seeds like poppy seeds or linseed. They have a slight peppery tang, but it is hardly noticeable. They are little nutritious powerhouses, which can be slipped into so many different recipes, without you (or should I say, your kids) even realising they are there.
Although quite a buzzword in health circles for a while, the wonders of chia are becoming more universally recognised. Find out what you need to know about the benefits of chia seed, and why you should be eating more.
Chia seed is often used to thicken puddings, and that’s exactly why I’ve used it in this maple syrup berry jam. It is also added to gluten free bread to bind everything together. And if you are interested in vegan alternatives, you are probably already aware of chia eggs and how they can replace regular eggs in baked goods.
Other recipes made with jam
Although the maple syrup berry jam is the star of this show, I’ve also put my jams to good use in other recipes. Here are some of my favourite recipes made with berry jam:
- Sweet buns topped with blackberry jam
- Jam love hearts
- Yorkshire puddings with blueberry jam
- Homemade jam tarts
- School canteen jam and cornflake tart
- Spelt doughnut muffins with raspberry jam
- Eton Mess Victoria sponge
- Eton Mess with Greek yoghurt
Maple Syrup Berry Jam with Lemon and Chia Seeds
Ingredients
- 400g (14 oz) berries (fresh or frozen)
- juice of ½ lemon
- 1 tsp vanilla extract
- 4 tbs maple syrup (or use honey, if you prefer)
- 2 tbs chia seeds
Instructions
- Place the berries, lemon juice, vanilla and maple syrup in a medium-sized pan.
- Heat for around 10 minutes, just until the berries are nice and soft. If you have any large lumps, just squidge them with a fork.
- Add the chia seeds and continue to cook for a further 10-15 minutes until a thick jam consistency forms.
- Taste and adjust the sweetness if necessary. Remove from the heat and allow the jam to cool completely.
- Pour into a jar(s) with a lid. It won't last as long as shop-bought jam, but if you store it in the fridge, it should last for a week.

