
Nostalgic Spelt Jam Tarts
These nostalgic spelt jam tarts are a classic. Small, open-faced pastries, filled with jam and baked until golden. Traditionally made using leftover pastry, they’re simple, nostalgic, and endlessly adaptable.
You can use any type of flour or jam you like, and even shop-bought pastry works well. They’re the kind of bake that most definitely do not need to be perfect, and they are a great for making with your kids.
This recipe for homemade jam tarts originally featured on The Culinary Jumble and was posted in May 2017. The recipe has been slightly adapted but the images remain the same.
|
|
| My mum’s jam tarts |
| A taste of British childhood |
| Adapting the pastry |
| Homemade berry chia jam |
| Simple finishing touches |
| Baking the jam tarts |
| More pastry recipes |

My mum’s jam tarts
This post has been updated in memory of my mum, who passed away recently. I find comfort in remembering the little things, especially the ones that made us laugh, or brought us together at the table.
When I was a kid, my mum used to make homemade jam tarts out of leftover pastry. She’d fill them with jam (whatever flavour she had) and over-bake them within an inch of their lives, resulting in dry pastry topped with almost completely evaporated sickly sweet jam. Yet, we loved them.
My mum’s dinners were the best in the world (they still are), but she didn’t fare as well in the baking department. She will tell you that herself, bless her. Her disastrous Yorkshire puddings and flat-as-a-pancake cakes were the butt of many a family joke. But her roast dinners? Out of this world.
A taste of British childhood
Ask most people in the UK, and I’m pretty sure they’ll have similar memories about homemade jam tarts. Okay, maybe not the dry, over-baked kind my mum used to make, but certainly the tradition of using up leftover pastry rather than letting it go to waste. There was something so charming about it. A little rough around the edges, sometimes literally, but always made with love. It was never about presentation. It was about making the most of what you had and turning it into something sweet and comforting.
Is it just a British thing though? I wonder if kids elsewhere grew up eating those slightly cobbled-together tarts, filled with whatever jam happened to be knocking around in the cupboard. Maybe it’s one of those quietly universal things. Or maybe, it’s a uniquely British habit born from generations of frugality and good old-fashioned make-do-and-mend thinking.
One of my friends mentioned jam tarts a while back and it instantly transported me back to my childhood kitchen, where those little treats would appear unannounced and slightly scorched. I couldn’t resist the idea of making them myself.
Adapting the pastry
When I decided to recreate the jam tarts from my childhood, I didn’t use leftover pastry. Instead, I opted to make the pastry from scratch using gluten-free flour. It was a bit of an experiment, but one that turned out surprisingly well. The pastry was crisp, buttery, and held up beautifully against the sweet jam filling. If you’re avoiding gluten, this is a lovely option that doesn’t compromise on taste or texture.
That said, there’s no need to make things complicated if you don’t want to. Shop-bought pastry works just fine, and if gluten-free isn’t your thing, feel free to use spelt or plain (all-purpose) flour. This recipe is flexible and forgiving, just like the tarts we remember from childhood. The real magic isn’t in the flour you use, but in the simplicity of the idea: turning leftover pastry and a bit of jam into something that feels warm, familiar, and full of love.
Homemade berry chia jam
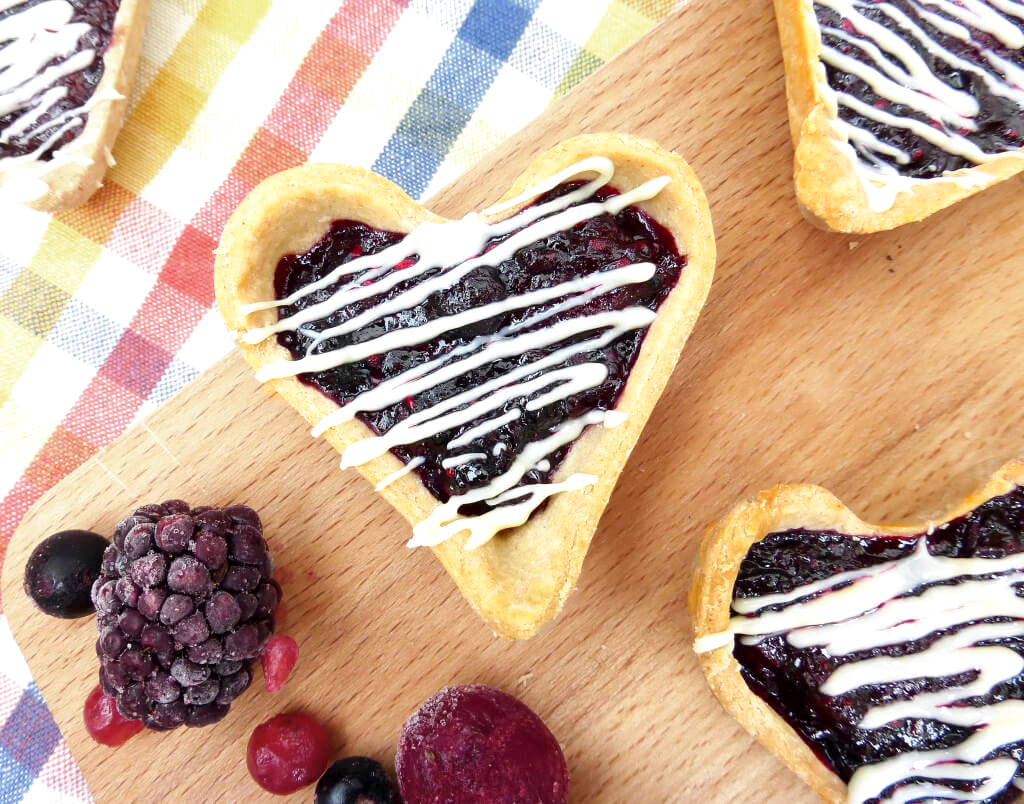
I used my homemade berry chia jam (which contains no refined sugar) to fill these beauties. This means that you’ve got a treat that’s not only nostalgic but also a little bit healthier. The chia jam adds a lovely natural sweetness and is packed with antioxidants, making these tarts feel even more wholesome.
That said, any jam will work for this recipe. Whether it’s a jar of strawberry, raspberry, or even a zesty lemon curd, the choice is yours. In fact, for a more authentic touch, you might actually want to go with store-bought jam; the kind that comes in a jar with the familiar, comforting flavour of your childhood.
Simple finishing touches
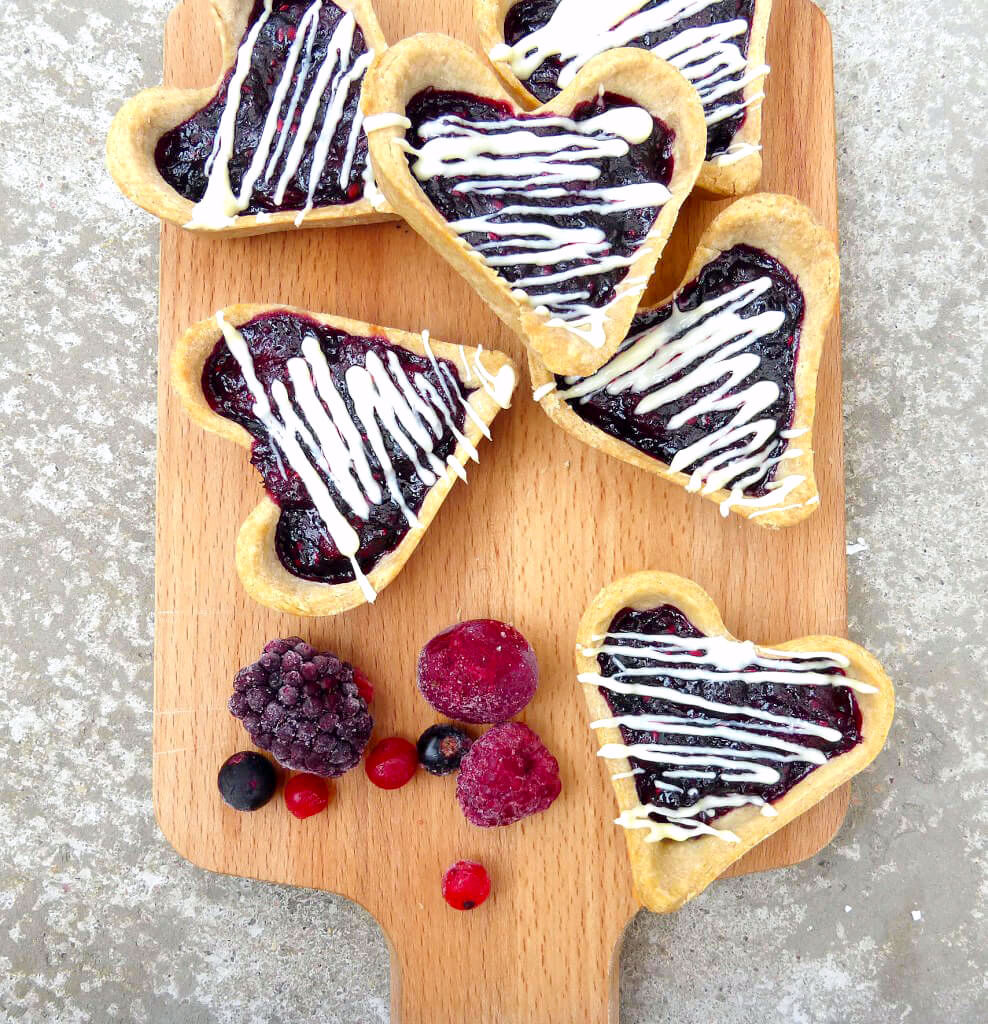
As a finishing touch, I drizzled a little white chocolate over the top. This wasn’t essential, and I did it mostly for aesthetic purposes (you know, to create that pretty contrast in my photos). It also adds a tiny hint of sweetness that complements the tartness of the jam beautifully.
But honestly, it’s not necessary at all. These tarts would be just as good without it, especially if you prefer to keep them simple and true to their roots. After all, it’s the joy of the jam-filled pastry that makes them special, no extra frills needed.
Baking the jam tarts
The measurements below made six homemade jam tarts. Just enough for a small batch to share (or to keep all to yourself, no judgement). I used a pan with heart-shaped holes because I wanted to add a little extra love to the presentation. Fitting, really, given the nostalgic pull of these tarts and the memories they carry. But don’t worry if you don’t have anything fancy; a regular muffin pan works just as well. The important thing is that the tins have some depth to hold the jam securely as it bakes.
If you’re using a different size or shape of pan, you may need to adjust the amount of pastry and jam slightly, but this is a very forgiving recipe. Just press the pastry gently into the tin, spoon in your jam, and bake until the edges are golden and the filling bubbles ever so slightly.

Dark chocolate raspberry tartlets
Savoury cheese & chive puff pastry swirls
23 inspiring savoury puff pastry recipes

Homemade Jam Tarts
Ingredients
Pastry:
- 120g (1 cup) flour (see note 1)
- 45g (¼ cup) chopped cold butter (I used salted)
- 1 egg (medium)
- water (if needed)
Filling/Decoration:
- around 6 tablespoons jam (see note 2)
- melted white chocolate to drizzle (optional)
Instructions
- Pre-heat the oven to 180°C (350°F) and grease a 6-hole muffin pan (see here for more info).
- Pour the flour into a large bowl.
- Chop the butter and then add to the flour. Rub in with your fingers (or use a stand mixer) until you're left with fairly fine crumbs.
- Beat the egg in a separate bowl and add to the flour mixture.
- Stir until everything is combined. If the pastry hasn't pulled together, add a touch of water a little at a time until it does (be careful: you can always add more water but it is harder to correct if you add too much).
- Roll out the pastry (you may find it easier to use some baking paper because you do want to get the pastry nice and thin).
- Cut out hearts (or whatever shape you are using) that are slightly larger than each hole in the muffin pan.
- Place each pastry cut out in the greased muffin pan and using your fingers, gently push the pastry up against the sides to cover the whole area.
- Pop in the fridge for around 30 minutes to rest a little.
- Using a fork, poke holes in the pastry and then bake blind (see note 3) for 10 minutes.
- Remove from the oven and fill each one with around 1 tablespoon of jam (you may need more depending on how large your tarts are). Don't fill all the way to the top of the pastry as the jam bubbles up when hot.
- Bake for around 10-15 minutes, just until the pastry is starting to nicely brown.
- Remove from the oven and either leave them as they are or drizzle a little white chocolate over the top. Eat them still a little warm or serve cold. Enjoy!
Notes
- I used gluten free flour for my original recipe. However, you can use spelt or regular flour. Just do a straight swap (although you made need a touch more water if using spelt flour)
- I used homemade chia jam for my filling but you could use any.
- If you are unsure about baking blind, have a read of the Kitchn's tips.


1 thought on “Nostalgic Spelt Jam Tarts”