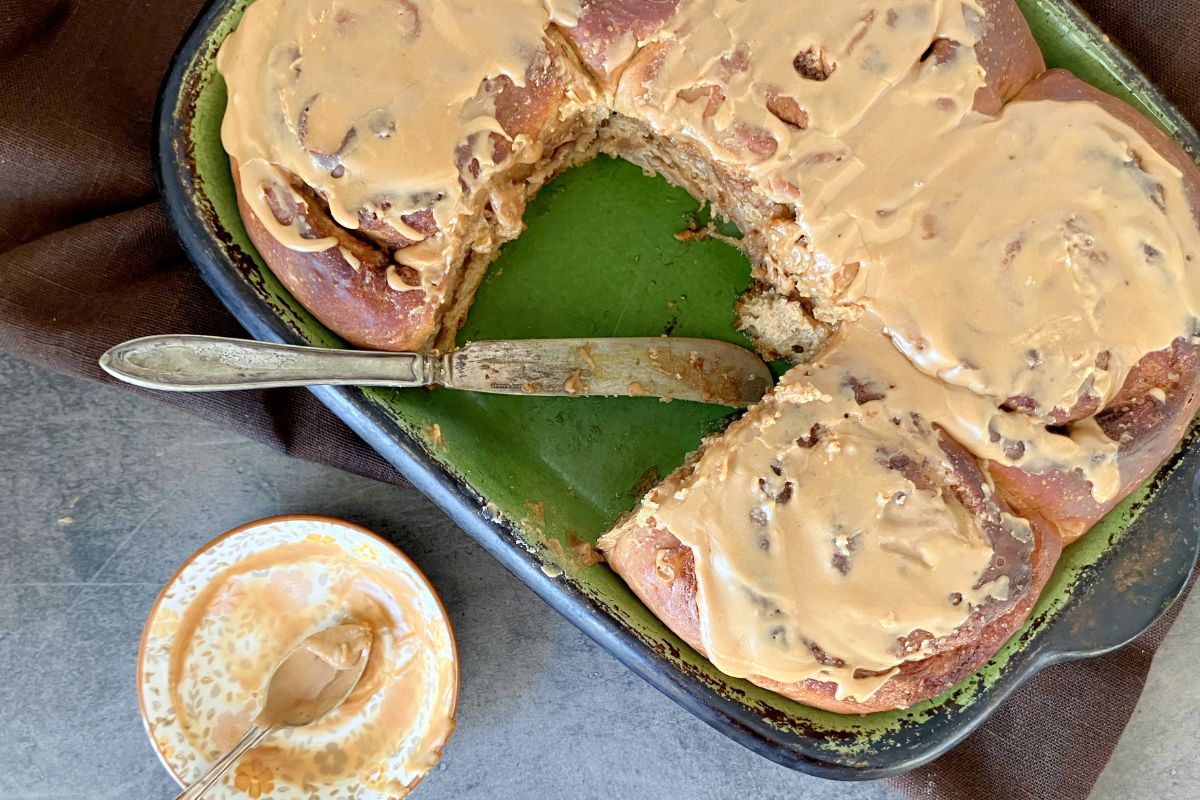
Coffee Cinnamon Spelt Buns with Coffee Icing
These massive, super soft coffee cinnamon spelt buns have a ridiculously good coffee icing. The buns can be baked immediately or left to proof overnight, and the instructions include how to make the dough in a bread machine or stand mixer. As always, the bread can be made using all-purpose (plain) or spelt flour.
I’m in the Amazon Associates program, and some of the links in this post are affiliate links. Please read my disclosure and privacy policy for more information.
_________
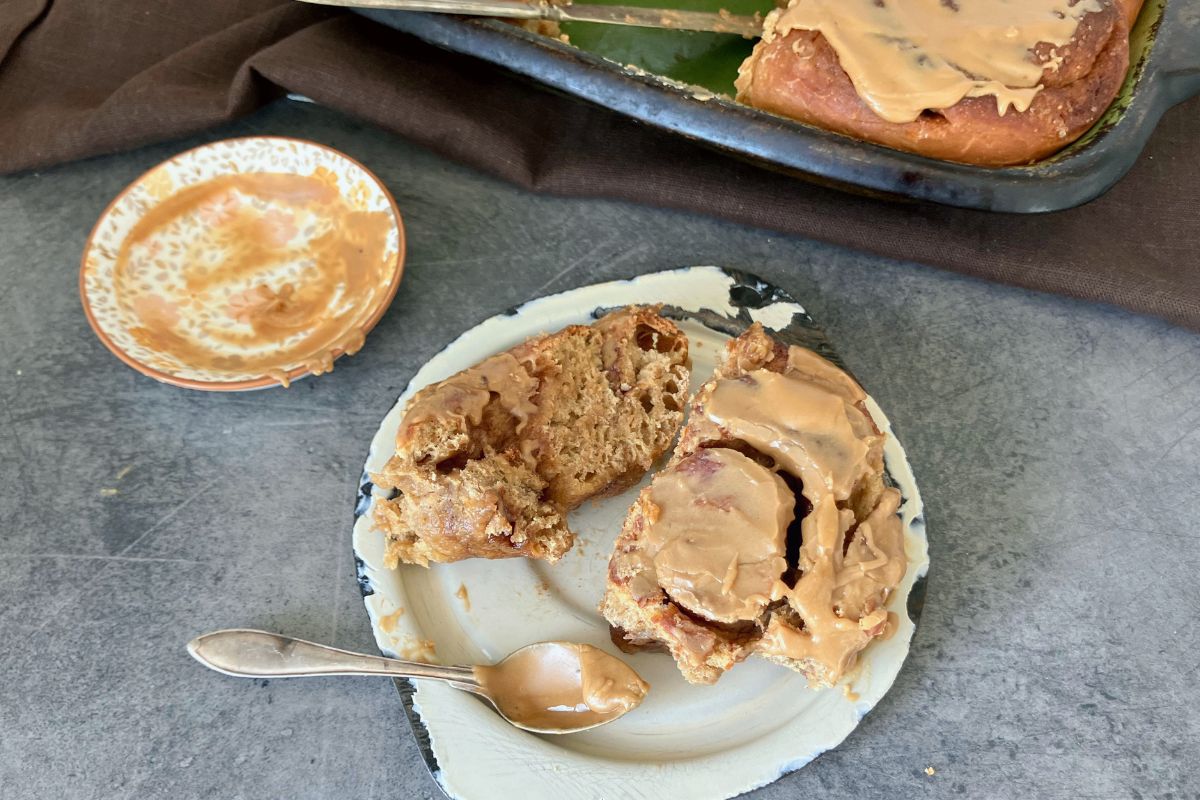
I’ve got to say that I think I’m in love. With these buns. They are not just any buns, though. They are overnight coffee buns. Since I made the batch the other day, I’ve had one every morning for breakfast. They are humungous, and I didn’t share. Nope. They are all mine.
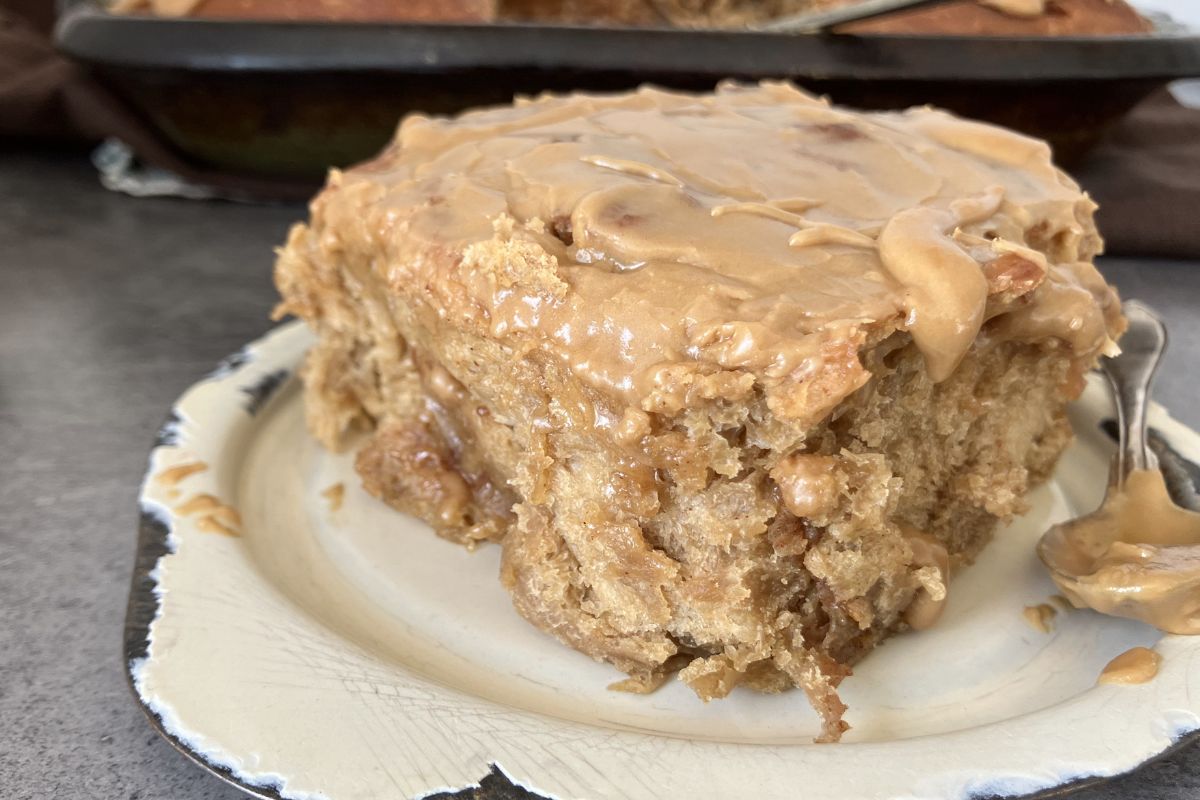
Seriously though, they are divine. They are everything you want in a cinnamon bun. Ridiculously soft, fluffy bread with a hint of cinnamon swirling through. Then, finished off with lashings of sweet icing. But let’s not forget the coffee. The coffee absolutely makes this recipe.
Why would you add coffee to sweet buns?
Yes, I get the confusion, or perhaps even incredulity. Some of you may even think I’ve lost the plot. That the coffee should only be served with the buns not in them. But I am a staunch advocate of coffee in my bakes, so it’s perhaps not so surprising it is also in my cinnamon buns. I throw it into impressive coffee layer cakes, simpler airfryer cakes and always add it to my chocolate brownies.
Instant coffee is in the dough and the frosting. It’s what gives these buns their gorgeous brown hue. However, the taste is not so noticeable in the dough. No missing it in the frosting, though. There’s something about adding coffee to bread, cakes and brownies that elevates the flavour, and I beg you to try it in your sweet buns, too.
Making giant cinnamon buns
I am going to be honest here and say I went big with these buns. Shockingly big. Even, perhaps too big, maybe. Although I would never usually put too big alongside the word cinnamon buns, in this particular case, I could. Nah, what am I talking about? I managed to snaffle a whole one down, still warm out of the oven, in less than a minute, after all.
They are the fluffiest, most humungous cinnamon buns I have ever had the pleasure to make (and eat). The whole purpose was to create massive buns. And I succeeded. However, you might want to divide the dough into 12 not 6.
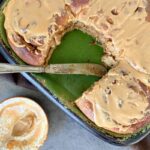
The buns were stuffed perilously close to each other. I made the dough in my bread machine and then let it rest overnight. Despite the cool fridge, at one point I did think they were going to escape their dish. They didn’t, thankfully. There is method in my madness though, and the intention was for the buns to mould together, as doing so produces an amazingly fluffy centre, while having a crisper outer edge. I did a similar thing with my super soft spelt buns.
Although I sing the virtues of spelt flour like a canary high on life, it can sometimes produce bread that is less soft, especially the second day after baking. Keeping the coffee buns close together while baking helps keep them lighter and fluffier.
Make the dough in either a bread machine or stand mixer
Whichever is your preferred method to make dough, rest assured that I have made the base dough many times in both.
I do love my bread machine. It’s been stuck in my cupboard for the longest time, though. My stand mixer has been my preferred method to prepare dough lately, but I am not sure why. Probably because it’s in the kitchen; whereas my bread maker is stored in my bedroom cupboard. Like I said, I make dough with both methods, and use the same ingredients. The only difference is a little tweaking with how much flour is added.
Bread machines are great for making dough. The jury is still out on loaves, though. You literally throw everything into the pan and set it to work its magic. The controls mean that the dough is thoroughly kneaded, and that the temperature is right for the proofing. You can go off and do something else while it’s all happening.
With a stand mixer (or even worse, by hand), you need to keep a good eye on it. The positive is that you have more control, and the whole process is a little shorter (but not by much).
Cinnamon bun frosting without cream cheese
They wouldn’t be cinnamon buns without frosting, would they? Well, in Sweden, they would be. Our kanelbullar have nothing more than a sprinkling of pearl sugar and work amazingly well. But these coffee buns are not kanelbullar. In fact, you could probably get three kanelbullar in one of these bad boys. So, of course they need frosting. If I lived on my own, and had to eat everything I baked myself, I would have used a cream cheese frosting. I love them.
However, my 17 year old can smell cream cheese a mile away (literally), and refuses to eat anything with it. When I made my gorgeous Greek yoghurt caramel ice-cream he accused me of making it with cream cheese. As if I would try to trick him like that. Well, I have. That’s why he no longer trusts me when faced with something new I’ve created.
So, if you have fussy kids like me, or are not a fan of cream cheese frosting, all is not lost. You can create a thick frosting with just icing sugar and milk. And in the case of these buns, instant coffee. The great thing is that you can choose the consistency. Some days, I feel like frosting that you can stand a spoon up in, like I used for my whole lemon and cottage cheese cake, other days, I prefer a light drizzle, as used on my lime bread and cinnamon bun monkey bread.
Adapting this recipe
-
Make the buns smaller
I use the same base dough recipe for all my sweet buns, and usually get anywhere between 8-16 buns. If you don’t want ridiculously large buns, just follow the same method, but after rolling the dough, just cut more slices.
-
Use a larger pan
Perhaps you do want massive buns, but would rather they didn’t squish together. If so, just use a bigger pan. Mine is 22cm x 28cm (8½” x 11″), so just increase the size and space the buns further apart.
-
Use a substitute for spelt flour
You could easily do a straight swap and use all-purpose (plain flour). You don’t need to worry about re-calculating the quantities necessary, just use the same amount I’ve specified. I see no reason why you couldn’t also use bread flour, but I haven’t tried this myself.
-
Omit the coffee
This is an odd one, because the whole recipe is focused on coffee. However, it’s not everyone’s cup of tea (pardon the terrible pun). You could easily leave out the instant coffee in both the dough and icing. The coffee in the dough is mixed in with milk, so just omit it. For the icing, why not replace it with the topping I used with my raspberry overnight buns, instead. Or, mix in some berries like I did for my blackberry iced buns.
-
Don’t let them rest overnight
If making in the bread machine, the dough has already had a good long proof. Even so, I chose to shape mine and let them rest overnight in the fridge. I did this mainly for the convenience, but it is not necessary. You can shape the buns, let them rest for 30 minutes or so, then bake them.
For the stand mixer, you can proof the dough, shape up the buns and either keep them in the fridge overnight, or bake them directly. Alternatively, you don’t have to do a first proofing. Just roll out the dough, shape it up, and let it proof overnight in the fridge. I’ve used both methods without noticing any discernible difference.
Coffee Cinnamon Spelt Buns with Coffee Icing
Ingredients
Dough:
- 250ml (1 cup) milk
- 1½ tbs instant coffee (see note 1)
- 50g (3½ tbs) butter
- 1 egg (medium)
- 450-500g (3¾-4 cups) spelt flour (see note 2)
- 50g (¼ cup) sugar
- 7g (2¼ tsp) dried yeast (see note 3)
- 1 tsp sea salt
Filling:
- 50g (3 tbsp + 2 tsp) butter (very soft)
- 90g (¼ cup + 3 tbsp) brown sugar
- 1 tbs cinnamon
Icing:
- 2 tbsp milk
- 2 tsp instant coffee (see note 1)
- icing / powdered sugar (as much as you need)
Instructions
DOUGH (both methods):
- Mix the milk with the coffee and give it a stir until most of the coffee has dissolved.
- Pour the milk and coffee mixture into your bread machine pan or stand mixer bowl.
- Add the egg and butter.
- Add 450g (3¾ cups) flour, sugar, yeast and salt.
Bread machine:
- Set your machine to make the dough.
- When the dough is ready, pour out onto a very well floured surface. The dough is very sticky, but once you've kneaded in a little more flour, it quickly becomes beautifully soft and very pliable.
Stand mixer:
- Set your mixer going and mix until all the ingredients are fairly well combined (the butter will still be a little chunky, and that's fine).
- Gradually add more flour until your dough is still a little tacky, but starts to pull away from the sides of the bowl.
- Switch to your bread hook (if you have one) and knead for about five minutes.
- Cover and proof until doubled in size. Alternatively, if you are intending to proof overnight in the fridge, you can skip this (for more information, please read).
- When the dough is ready, pour out onto a floured surface.
Both methods:
- Roll out into a long rectangle, around 27cm x 42cm (10½" x 16"), with the shorter end facing you. The dough should not need much rolling, it will be more a case of pushing into the required shape.
- Spread the butter over the top of the dough with a brush or knife.
- Mix the sugar and cinnamon together and then sprinkle over the top of the butter layer. Move it around with your fingers to get a nice, even coverage and push it down slightly.
- Carefully, still with the shorter edge facing you, roll the dough up fairly tightly, finishing off with the seam underneath. The dough is incredibly soft, so you will need to work quickly and carefully, especially if it's the summer or you live in a humid climate.
- Cut the roll into 6-12 pieces, depending on how big you want them. I cut mine into six and they were huge.
- Place in a greased dish or pan (for more information about sizing, see here).
If baking immediately:
- Cover with a cloth and allow the dough to rest for around 30 minutes.
- Pre-heat the oven to 175℃ (350℉).
- When ready, bake the buns for around 25 minutes in the lower part of the oven. If you feel they are browning too quickly, cover them with some foil.
- Remove from the oven and allow to cool for a while before adding the icing.
If proofing overnight:
- Cover with clingfilm and place in the fridge.
- Next morning, take the buns out of the fridge and let them come back up to room temperature (about an hour).
- Pre-heat your oven to 175℃ (350℉).
- When ready, bake the buns for around 25 minutes in the lower part of the oven. If you feel they are browning too quickly, cover them with some foil.
- Remove from the oven and allow to cool for a while before adding the icing.
Icing:
- Add the milk to a bowl along with the instant coffee (you can use more or less coffee, depending on how much you like the flavour).
- Stir until most of the coffee has dissolved.
- Add as much icing / powdered sugar as needed to make a thick frosting. If you prefer a runny drizzle consistency, just use less icing sugar.
- Spread or drizzle over the top of the buns. The buns freeze amazingly well, so any you have leftover, just pop them in the freezer until you are ready to eat them. Enjoy!
Notes
- If you do not want to make these coffee-flavoured, just omit the instant coffee.
- You can use all-purpose or even bread flour. Just use the same measurements as specified.
- In Sweden we have something called dried yeast. It is used both in warm liquid to proof and also added directly to flour. I am aware that the US has two options for dried yeast, and I believe instant yeast is the most similar for the purpose of making this particular bread.