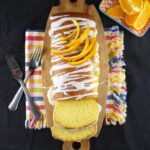
Chocolate Spelt Pastry Tartlet Shells
These homemade chocolate spelt pastry tartlet shells allow you to create your own mini tarts and pies at home. The sweet, cocoa-flavored pastry dough can be made with gluten free, all-purpose, and of course, spelt flour.
I’m in the Amazon Associates program, and some of the links in this post are affiliate links. Please read my disclosure and privacy policy for more information.
_________
The first time I made chocolate spelt pastry was for my truly magnificent (even if I say so myself) spelt chocolate pie with homemade caramel and chocolate ganache. I was so happy with the result, including the rather unusual chocolate pastry crust. So, I decided to make a recipe for tartlets that you can fill with whatever you fancy.
What’s the difference between chocolate pastry and regular pastry?
The great thing about regular pastry is its flexibility. It doesn’t matter if you are making a sweet or savoury pie, the pastry remains pretty much the same. There’s very little variation on the base ingredients of butter, flour and a touch of salt. Chocolate pastry, on the other hand, has the following additional ingredients:
- Egg yolk
- Cocoa
- Icing / powdered sugar
The additional ingredients naturally affect the texture of the pastry. It makes it more of a cross between a cookie and pastry really, while still retaining the qualities of rich short crust pastry. My tartlet shells have a very thick crust, but they are still crispy and light, just as you would expect good pastry to be.
Does the tartlet pastry need to be baked blind?
I am going to be honest here and say that baking pastry blind bothers me. I don’t know why. It is a natural step in the process of baking pastry, and yet it still irritates me. I think it’s because I want things, and I want them now. I am not patient when it comes to baking. I think that could be to do with taking pictures, and wanting to hurry to get the light just right. Or, it could just be that I am a control freak who wants things done her way and quickly.
Seriously though, baking blind is often a necessity, especially when making a dish with wet ingredients, such as asparagus and salmon quiche. If you don’t blind bake the crust, you will end up with a very soggy bottom. If the thought of pre-baking your crust is a little daunting, and you’re not sure where to start, The Kitchn has an informative, easy to read article on how to bake blind.
However, after saying all that, you will be pleased to know that these chocolate tartlet cases do not need to be baked blind. Hooray. And I know this, because I’ve tried baking them with both methods. I saw very little difference between the batches, but it was so fiddly and time consuming to bake them blind. The only thing to be aware of is that the pastry might puff up without baking beans. This is easily remedied by pushing the middles down a little when straight out of the oven. A bit like you would with a thumbprint cookie. So, in my opinion, blind baking these mini treats is not necessary.
Equipment needed to make tartlet shells
-
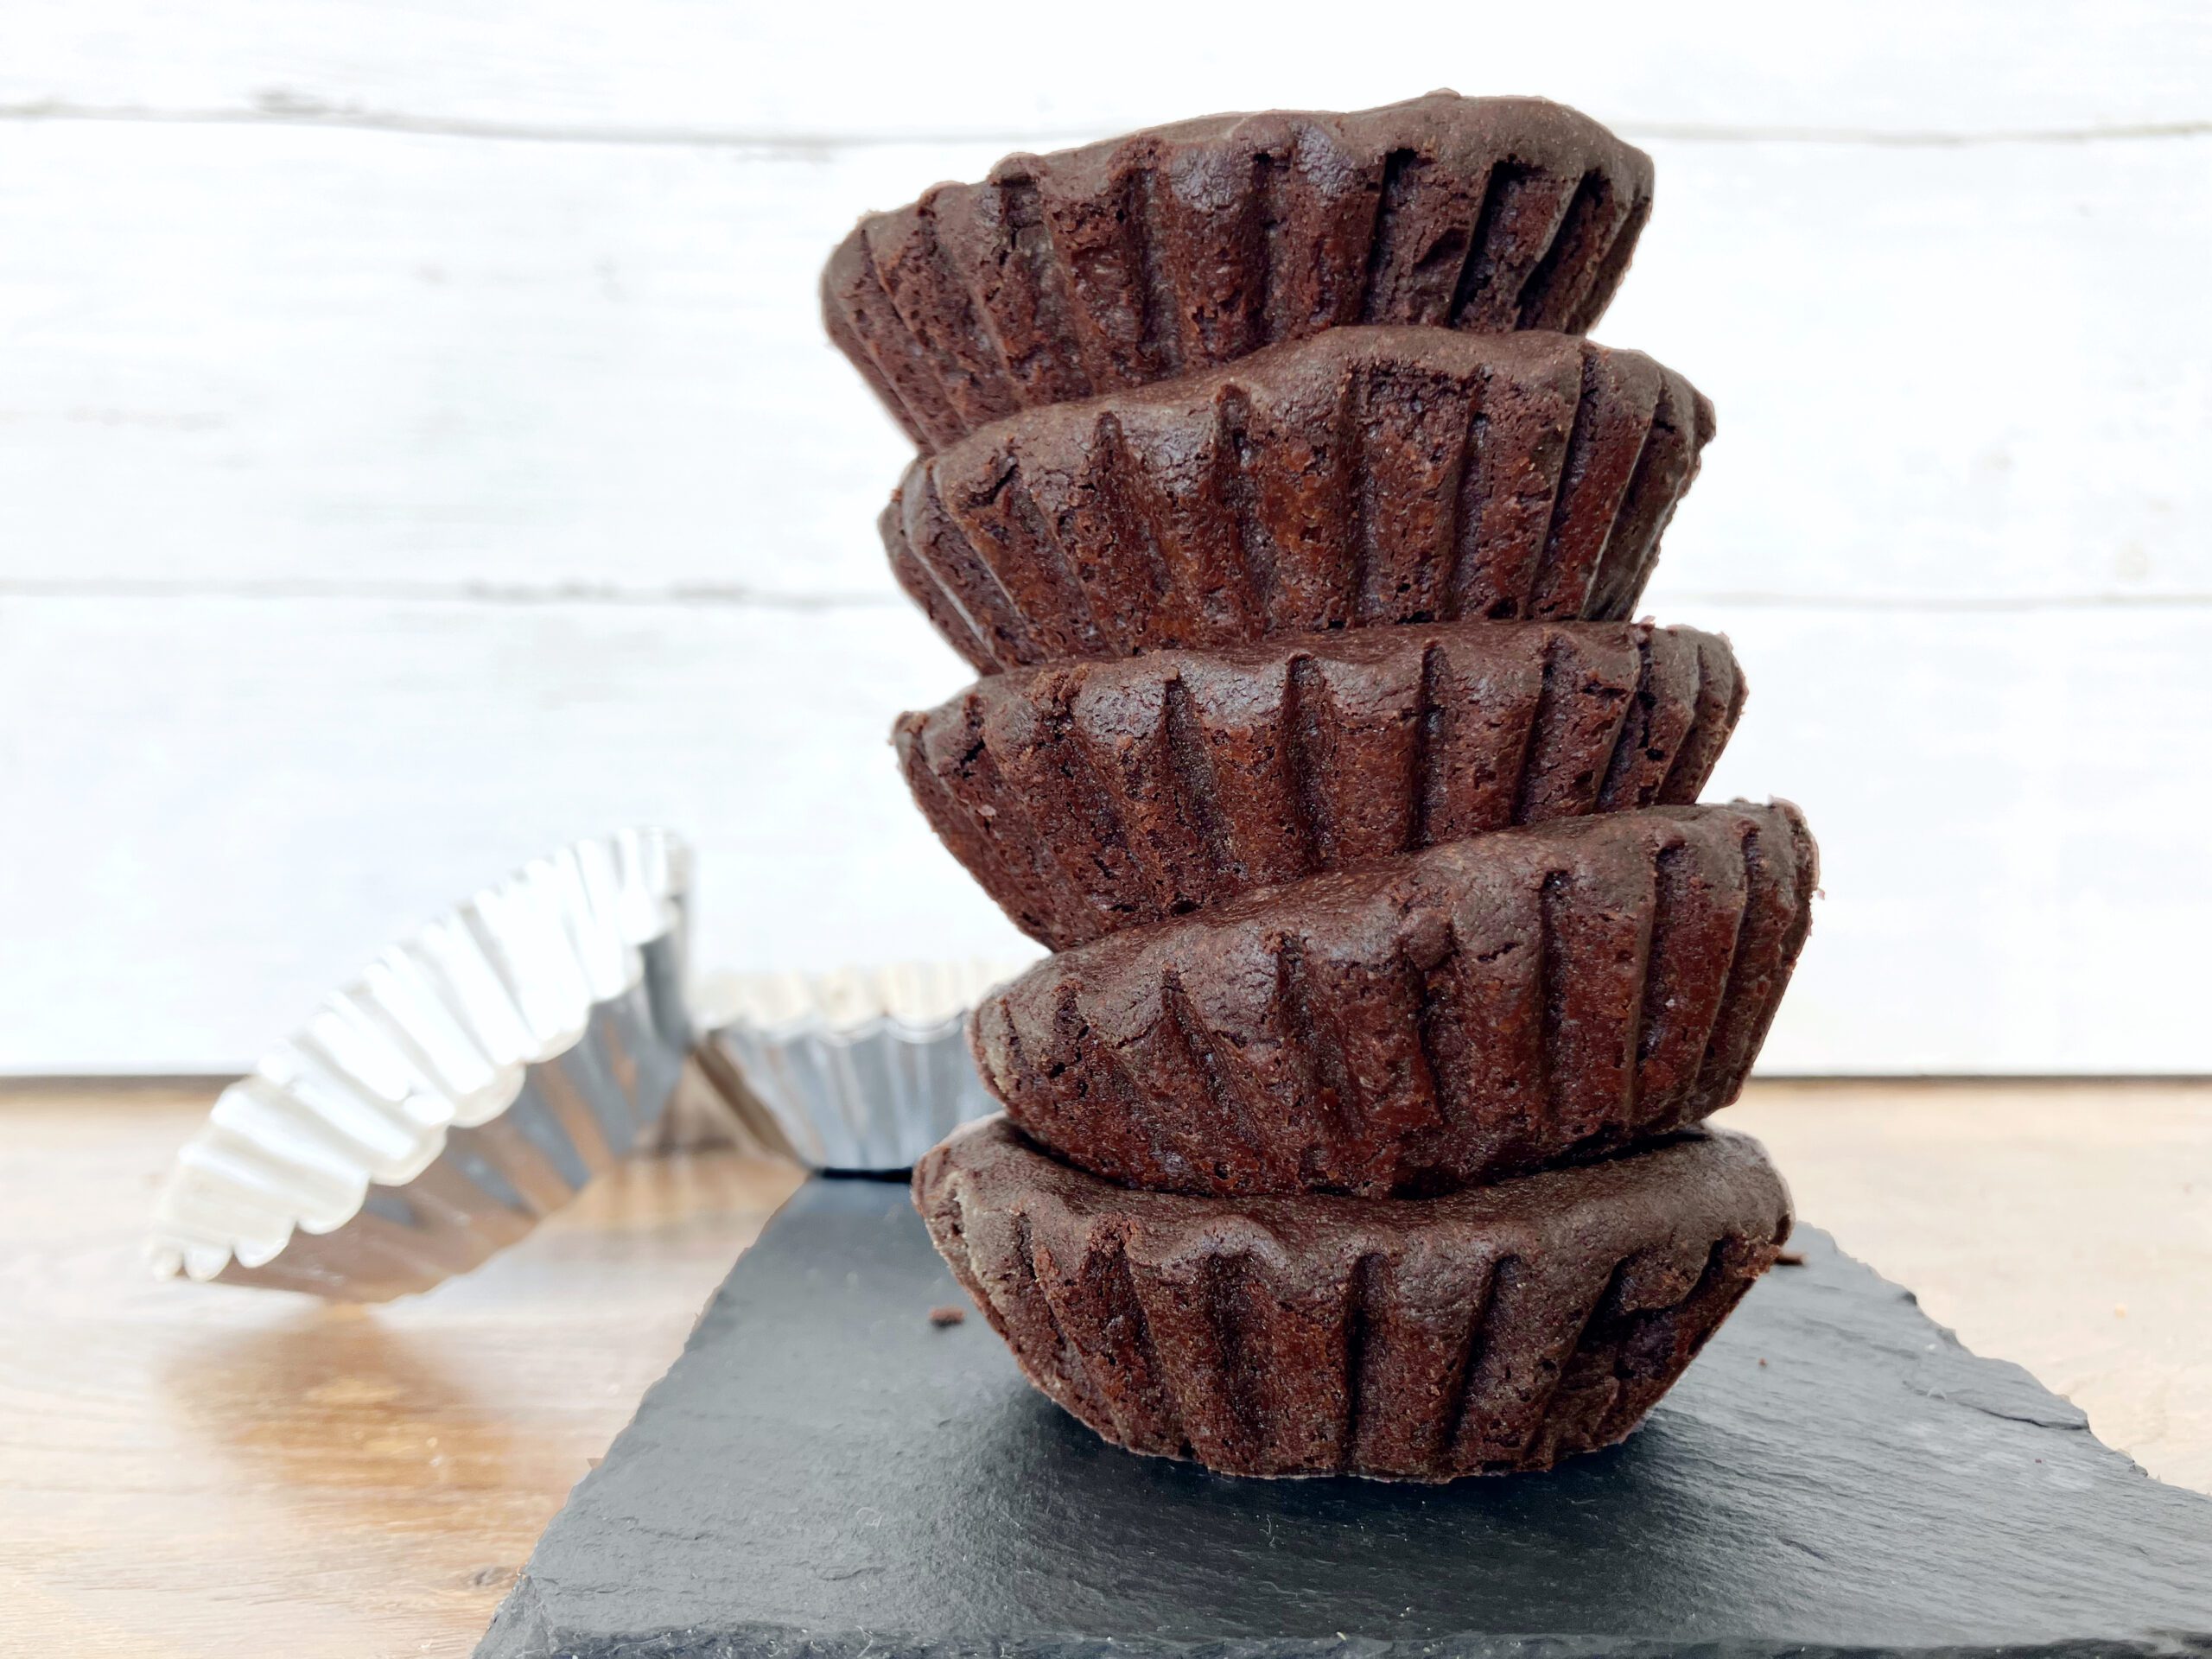
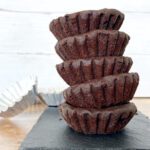
Tartlet cases
I made my chocolate pastry tartlets in mini pie cases. They measure 7cm (2¾”), and I bought them very cheaply from somewhere. Perhaps Temu? Anyway, Amazon has tart tins with a loose base, which would work really well. If you don’t have specific tartlet cases, you could easily use individual foil cases or even a muffin pan, instead.
-
Something to cut out the pastry
As you need to be quite specific with measuring how much pastry you need for each tartlet, it is much easier to cut out a shape before attempting to place them in the cases. I used a circle cutter just slightly larger than my cases (8cm, or just under 3 ¼”). Using a cutter just a little bigger ensures that the pastry is the right size to fill the case.

Tips for making the perfect tartlets
-
Don’t overwork the pastry ingredients
Many people swear by using the rubbing in method to mix the butter and flour for pastry. This is generally because you are less likely to overwork the pastry dough. Dough that has been handled too much will be tough and even a little chewy. Certainly not the crisp pastry shell you are wanting. Over-mixed pastry can also be troublesome to roll out.
However, it hurts my hands to rub in “manually”, so I use my stand mixer. Just remember to stop working the ingredients when you have achieved a crumble-like consistency, and that the lumps of butter do not have to be of uniform size. It is perfectly okay to have larger pieces.
-
It takes time to make great pastry
Although these chocolate spelt tartlet shells are fairly easy to make, the process involved is a little time-consuming. There’s lots of waiting around while the pastry chills. You need to let the dough rest for an hour or so (even longer, if you have the time) before rolling out. Then another wait after you’ve placed the pastry in the cases. After they are baked, you then need to allow them to cool completely.
Finally, there’s another period of resting time in the fridge before you fill them. However, these are crucial steps, so don’t skip them. Making this kind of pastry is not quick, so don’t rush it. The good news is that they can be prepared way ahead of time and then frozen. That way, you can just lift them out a short while before you need them.
Ideas for tartlet fillings
There is no end of the things you can use to fill your chocolate spelt tartlet cases with. Why not try:
- Caramel apples
- Cheesecake
- White chocolate
- Berries
- Pumpkin
- Sweet potato
Seriously, there is nothing you couldn’t use. My latest use for them was filling them with raspberry and dark chocolate ganache (recipe coming soon)
Do I need to use spelt flour?
No, not at all. I bake with spelt flour, so it is always going to be my first choice. However, I would like everyone to have the chance to make my recipes, so they are easily adaptable. You could replace the spelt flour with all-purpose (plain) flour and not notice any difference. You could even use gluten free flour. Pastry is very forgiving, and in the past I’ve even made it with gluten free flour, like for my goat’s cheese pie and strawberry galettes, all with fantastic results.
Other homemade spelt pastry recipes
- Chicken and ham individual pies
- Roasted vegetable deep dish pie
- Cheese and potato pasties
- Caramel pecan spelt galette
- Swedish Västerbotten cheese and onion galette
Chocolate Spelt Pastry Tartlet Shells
Ingredients
- 180g (1½ cups) spelt flour (see note 1)
- 50g (¼ cup + 3 tbs) cocoa
- 50g (¼ cup + 1 tbs) icing / powdered sugar
- 150g (½ cup + 3 tbs) cold butter (chopped into small bits)
- 1 egg yolk (medium)
- cold water (only if needed)
Instructions
- Add the flour, cocoa and icing sugar to a large bowl (or stand mixer bowl).
- Add the chopped butter and either by hand (using the rub in method) or with the help of a stand mixer, mix the ingredients together. See my main post for further information.
- When the ingredients resemble a crumble-like consistency, it is ready. Don't overwork at this stage; it's perfectly fine to have large pieces of butter.
- Add the egg yolk and mix in. Your ingredients will start to pull together as a dough.
- If necessary, add one or two tablespoons of cold water. However, before doing so, make sure the egg has been fully incorporated. Your dough should be smooth and neither sticky nor too dry (where it falls apart). If you do need a little water, add just a touch at a time.
- Shape the pastry into a rough ball and cover with clingfilm.
- Place in the fridge for at least one hour.
- When the dough is ready, pre-heat the oven to 175℃ (350℉).
- Roll out your dough to around ½ cm (¼ ") - see note 2.
- Using a round cutter slightly bigger than your cases or moulds, cut out 14 circles - see note 3.
- Place each circle carefully into each case. Make sure you place it evenly in the tin, and allow gravity to do its work (rather than forcing the pastry in).
- Gently push the pastry against the sides and bottom.
- Place back in the fridge for 15 minutes.
- Before placing the tartlet cases in the oven, prick all over the bottoms with a fork.
- Place your tartlet cases onto a large oven tray, and then bake for 15 minutes in the lower part of the oven.
- Remove from the oven. It's possible that the middles of the tartlets have puffed up (especially if the pastry is quite thick). If so, just gently push down with the back of a spoon while still hot.
- Allow to cool completely and then move to the fridge. Let them rest for several hours before filling them. Alternatively pop them in the freezer until you need them. Enjoy!
Notes
- You can use spelt, all-purpose or even gluten free flour for this recipe (just use the same amount).
- My dough is thick. If you would like your tartlet shells to be thinner, just roll it out a little more. Take care though, as the dough is quite delicate, especially when warm. To help, you might need to roll the dough in between two sheets of baking paper.
- My round cutter measures 7cm (2 ¾") and my tartlet shells are 8cm (just under 3 ¼"). If you don't have specific tartlet tins, you can use a regular muffin tin.